You are so sweet
0
Posted on 25th May 2024 by Vicki Poulton
Filed under Design Team, Vicki's Cards
Good morning Vic here today and I am sharing how I add ink to my white card to add some fun colours!
I used:
White Card Super Smooth 250gsm
I also used:
Sweet stamps (Time for tea designs)
Sweet Dies (La-La Land Crafts)
Inks Distress Oxide and blending brushes
White embossing powder
Copic markers
Memento tuxedo black ink
Versafine ink
Heat gun
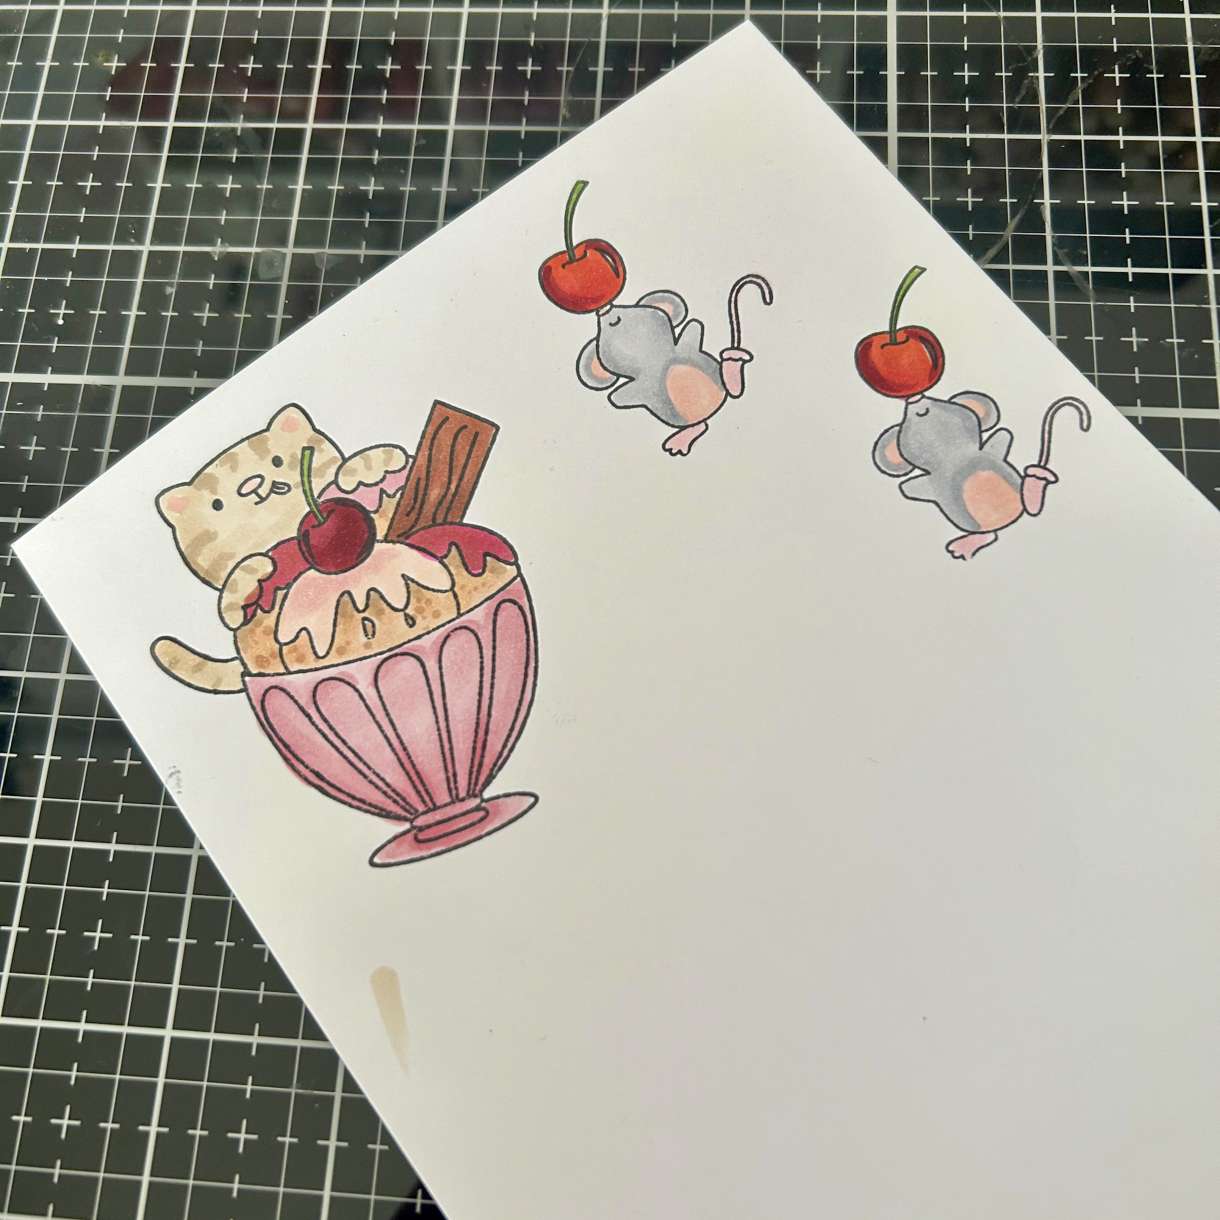
To start with I inked up my stamps and stamped out my images onto a piece of White Card Super Smooth 250gsm. I then used my copic markers to colour them in before die cutting them out.
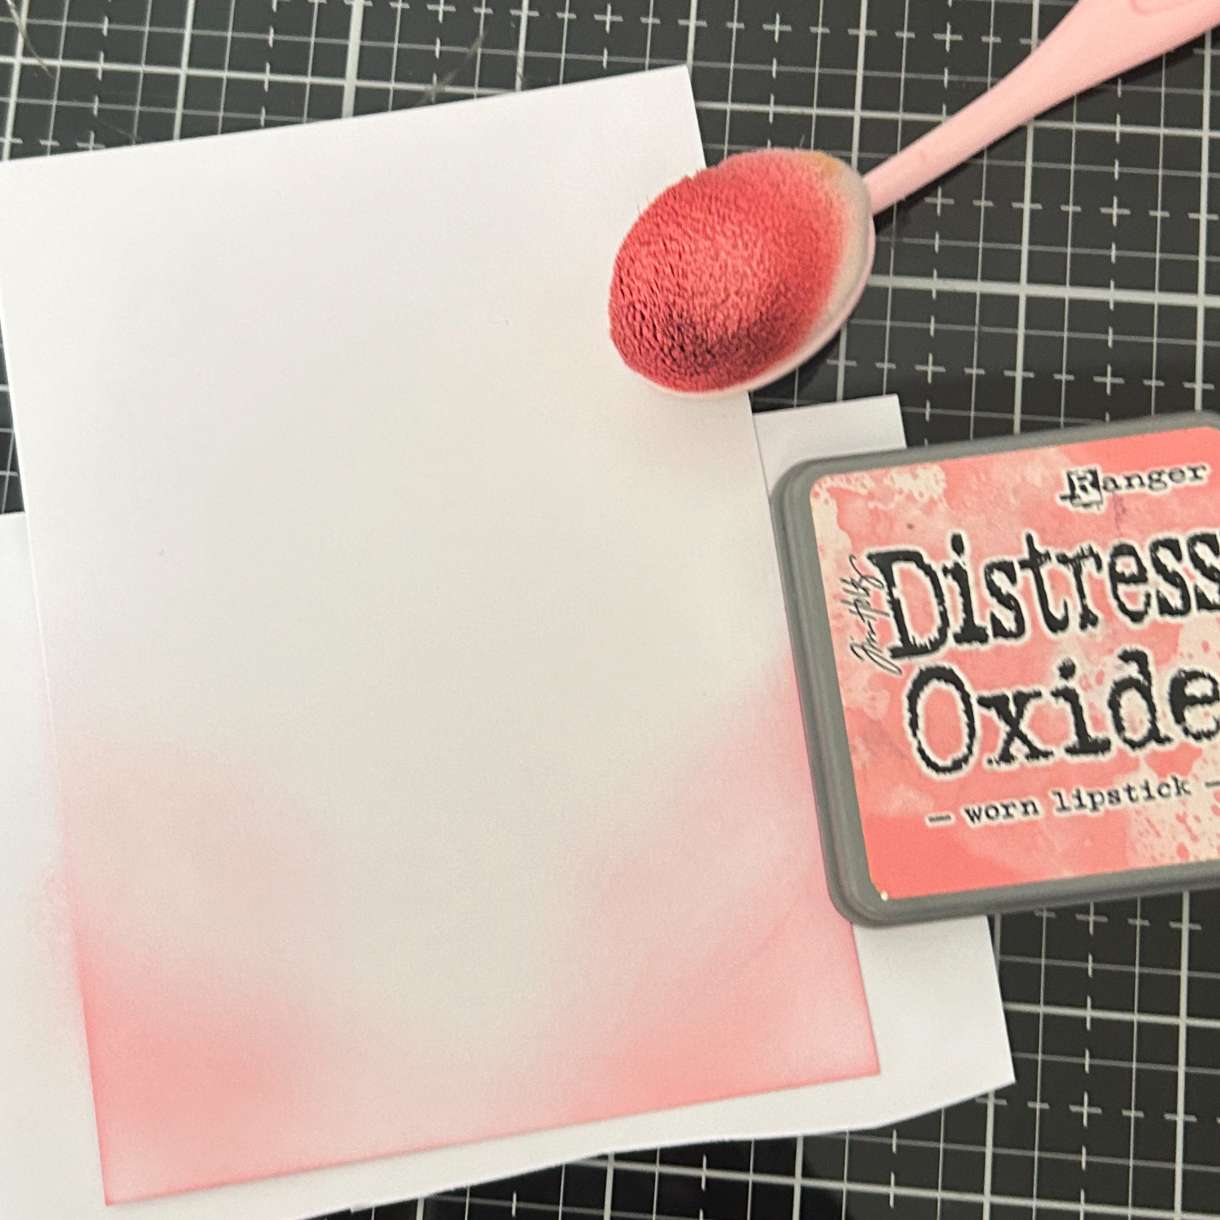
I then made my card base using a piece of White Card Super Smooth 250gsm and my card front. With my card front I started by picking up some ink with my blending brush and gently applying this to the top edge of my card. I went down about halfway of my card panel.
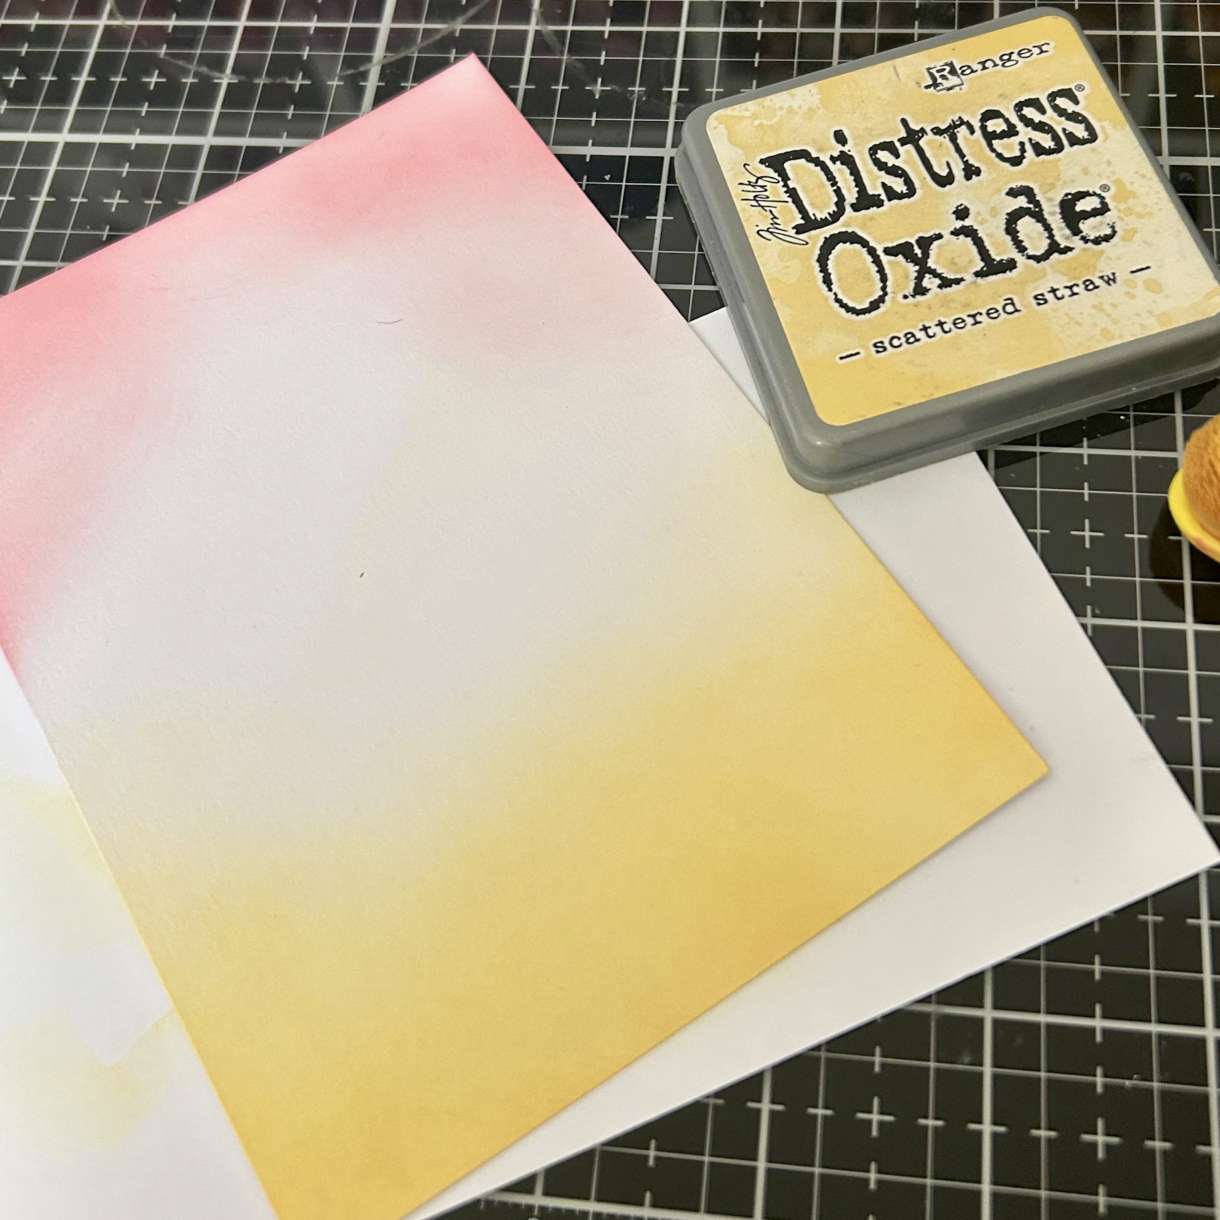
I then used some yellow ink and my blending brush and applied this to the bottom of the card.
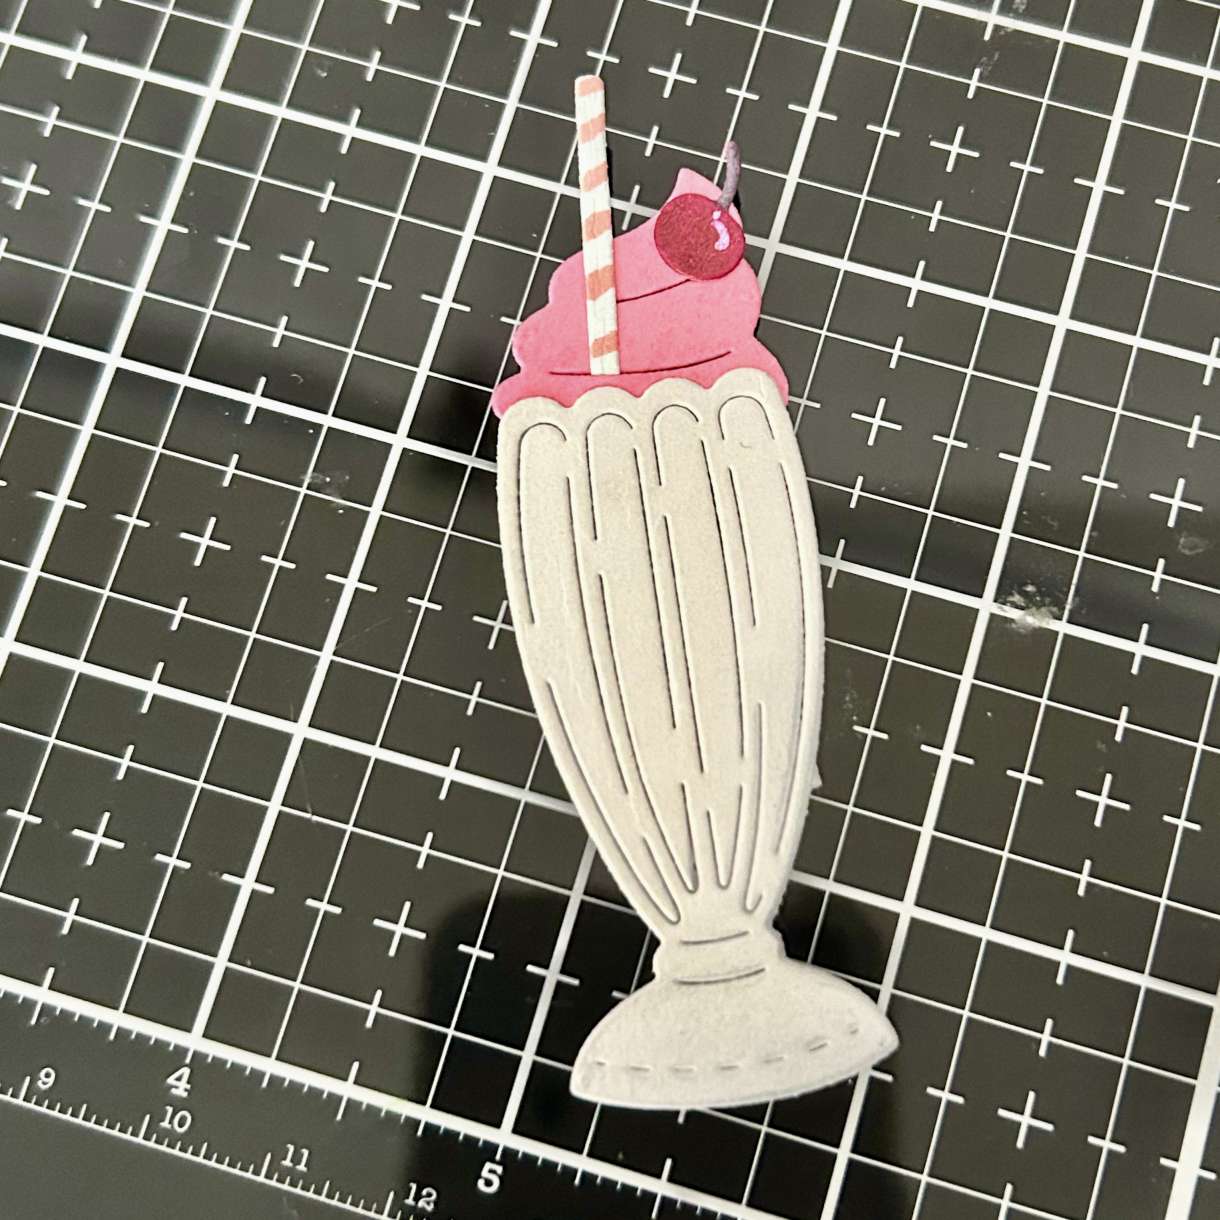
I then used some more White Card Super Smooth 250gsm and die cut my milkshake die. Using some ink and copic markers I coloured up the milkshake die.
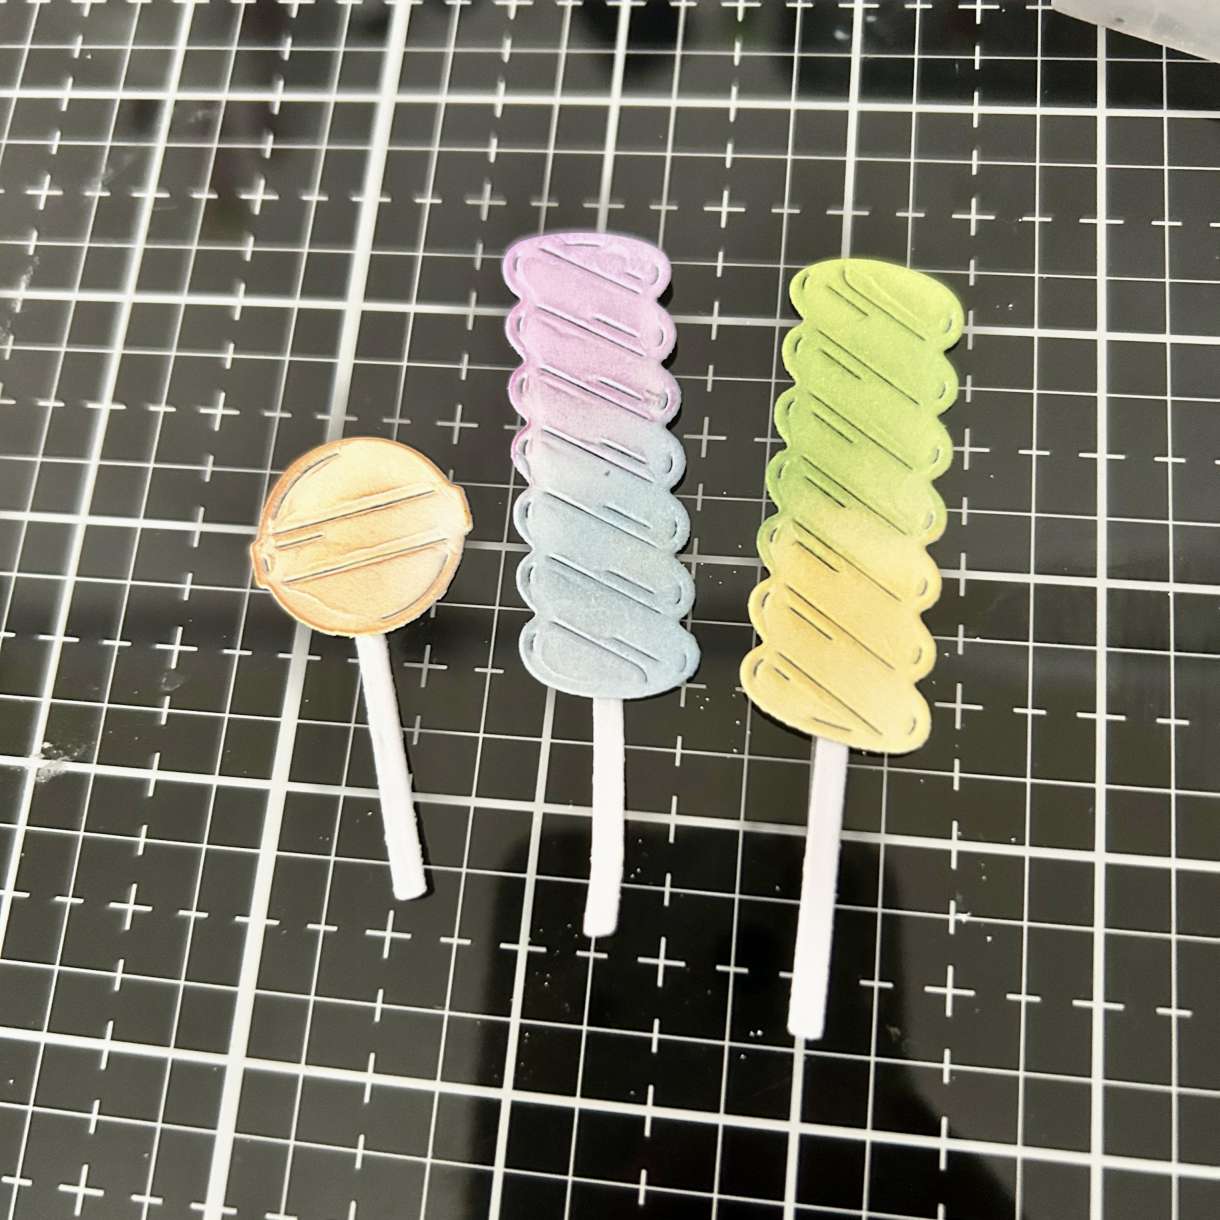
Using another piece of White Card Super Smooth 250gsm I went ahead and die cut some lollipops, I added colour to these with my inks and blending brushes. You don’t need a lot of ink to get them colourful so it’s always best to start gently then you can add more if needed.
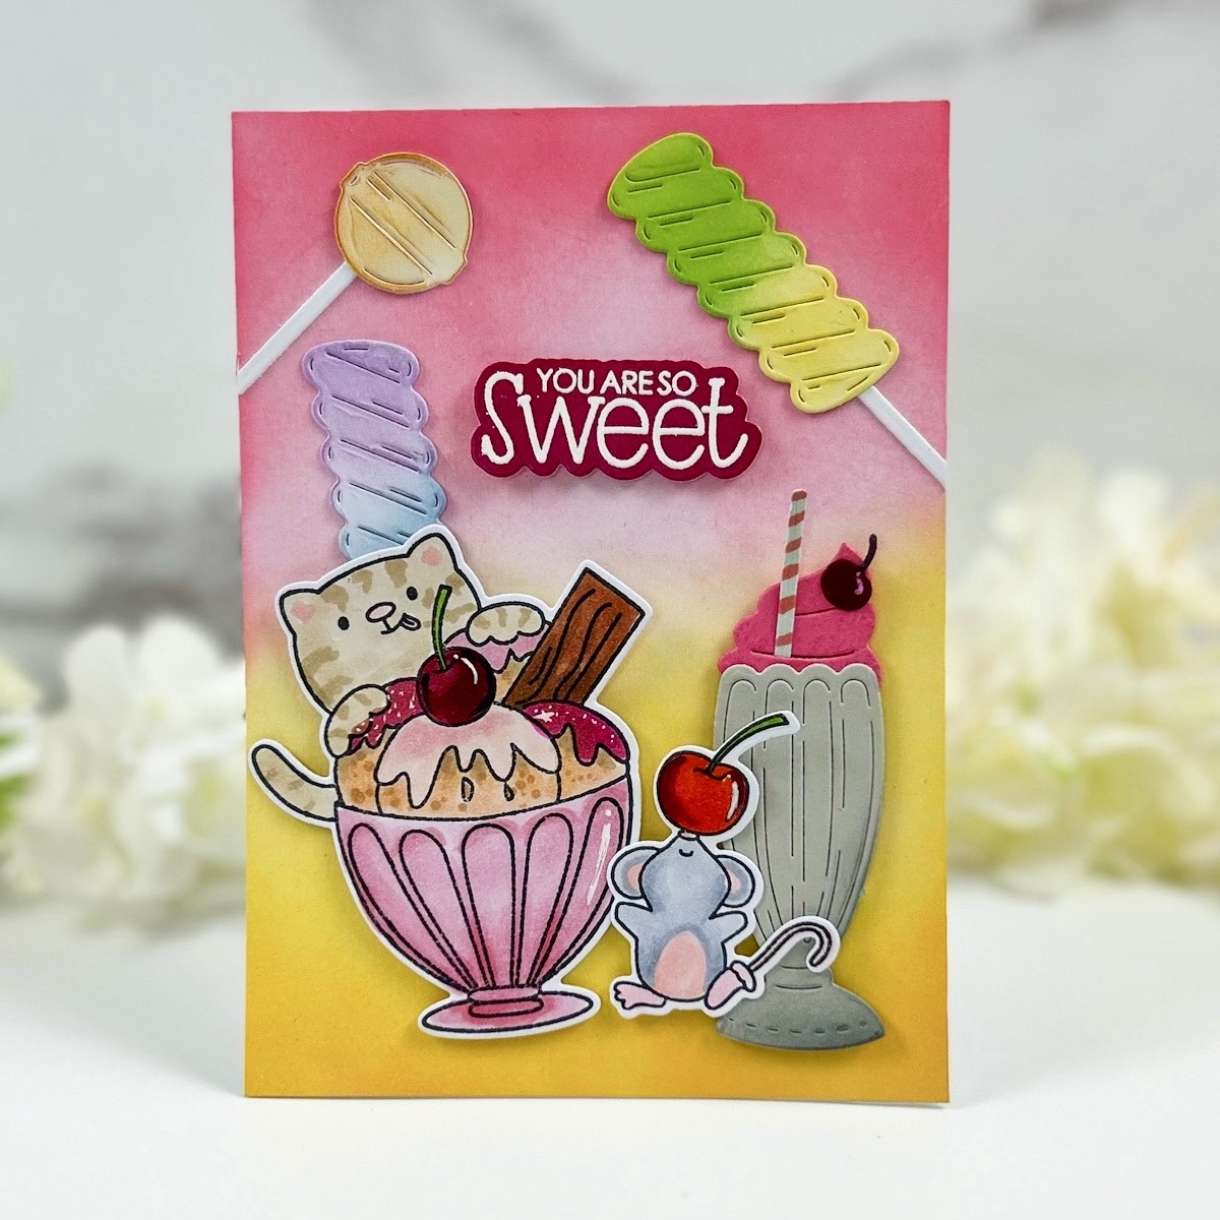
I placed my card panel onto my card base once all the ink was dry, I then added the stamped images and sweets. For my greeting I stamped the sentiment onto a piece of Red Plain Card 240gsm and using white embossing powder I heat set the sentiment and trimmed this out and added this to my card. Your card is now complete.


Nobody has commented yet
Be the first to comment on this article by using the form below.