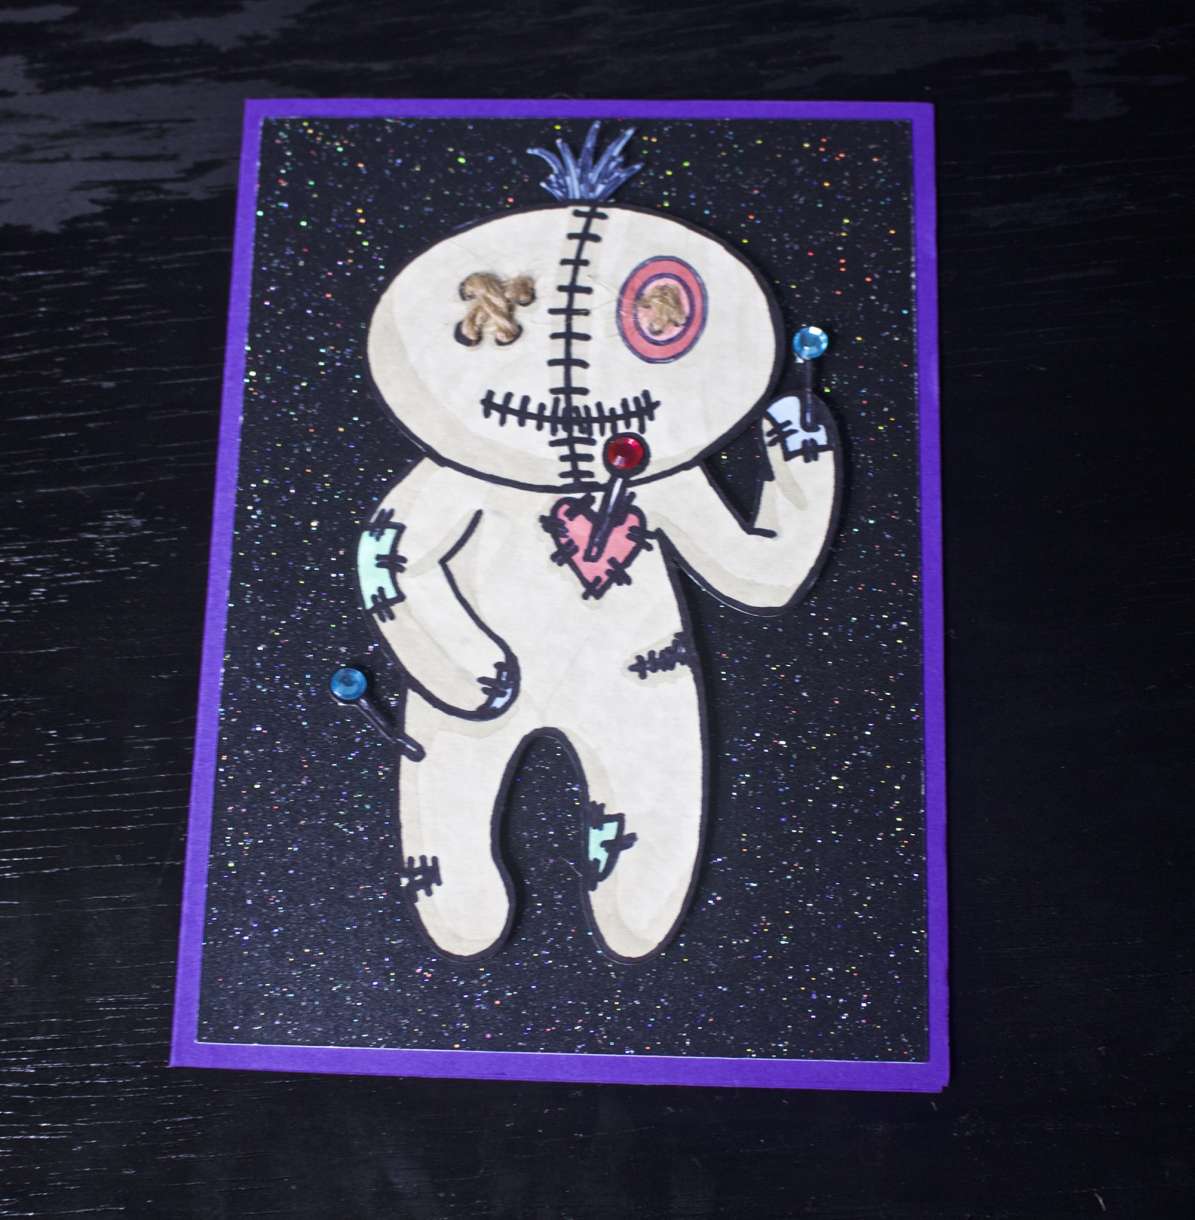
Voodoo Doll Halloween Card
0
Posted on 29th October 2019 by Hannah Williams
Filed under Card Making Ideas, Seasonal Crafts, Halloween Paper Crafts
For the card base you will need:
You Will also need:
- Twine or Wool
- Sellotape
- Scissors
- Foam tape or foam squares
- Rhinestones (colour of your choosing)
- Anita’s tacky glue
- Scoreboard & Bone Folder
- Paper Cutter
- Double sided tape
- Embossing Powders (I used Cosmic Shimmer’s Aurora Sparkle)
- Wow! Embossing Pen
- Heat Tool
- Windsor & Newton Promarkers (Khaki, Antique Pink, Cocktail Pink, Denim Blue, Mint Green, Mandarin) or blending inks or Pencil crayons.
- Fine Point Sharpie
To begin let’s cut out all of the base card pieces. With the Dark Violet card cut a piece that measures 10” width x 7” height, score this card at the 5” line for the centre fold. For the second Dark Violet piece cut a portion that measures 3.7” x 1.2”. The Charcoal Sparkle Card should be cut into 4.7” x 6.7”. And finally using the White hammered card cut a section that measures 3.6” x 1”. Then save the image i’ve drawn of the voodoo doll below and print it off onto the white hammered card. It should measure roughly 3.5” width x 6.1” height, there is some small leeway for this measurement. Once printed cut out the other doll completely, shown below.


Once you have all of your base card pieces cut, scored and printed we can begin to assemble. Start by taking the charcoal Sparkle piece and apply double sided tape along the back, then stick this down on the front of your folded dark violet card, making sure it is centred. Do the same with the other piece of dark violet card and the small white hammered rectangle, however for this piece don’t centre it. Line up the edges on one side and stick down.


Now let’s move on to the voodoo doll. Once you have printed and cut it it’s time to colour it in. For my card I chose to use a variety of Promarkers but feel free to use whatever you have to hand to colour it in. The white hammered card is perfect for the voodoo doll as its texture replicates a fabric look when it is coloured in. For the dolls body and head I used the colour Khaki. Once you’ve coloured every part in its time to add some further detail, I did this by going over certain parts of the doll again to create a shadow look.


I had my Cricut machine draw and cut my voodoo doll so the lines separated. I had to go over the outlines with a sharpie to finish it off, if you printed your image this shouldn’t happen but just in case I thought you should know what I did to fix this.


Some extra details I chose to do is to add rhinestones onto the pins stick into the voodoo doll and threaded some twine through the button holes in his eyes to add more dimension. This step is completely optional I just felt that it needed something more.


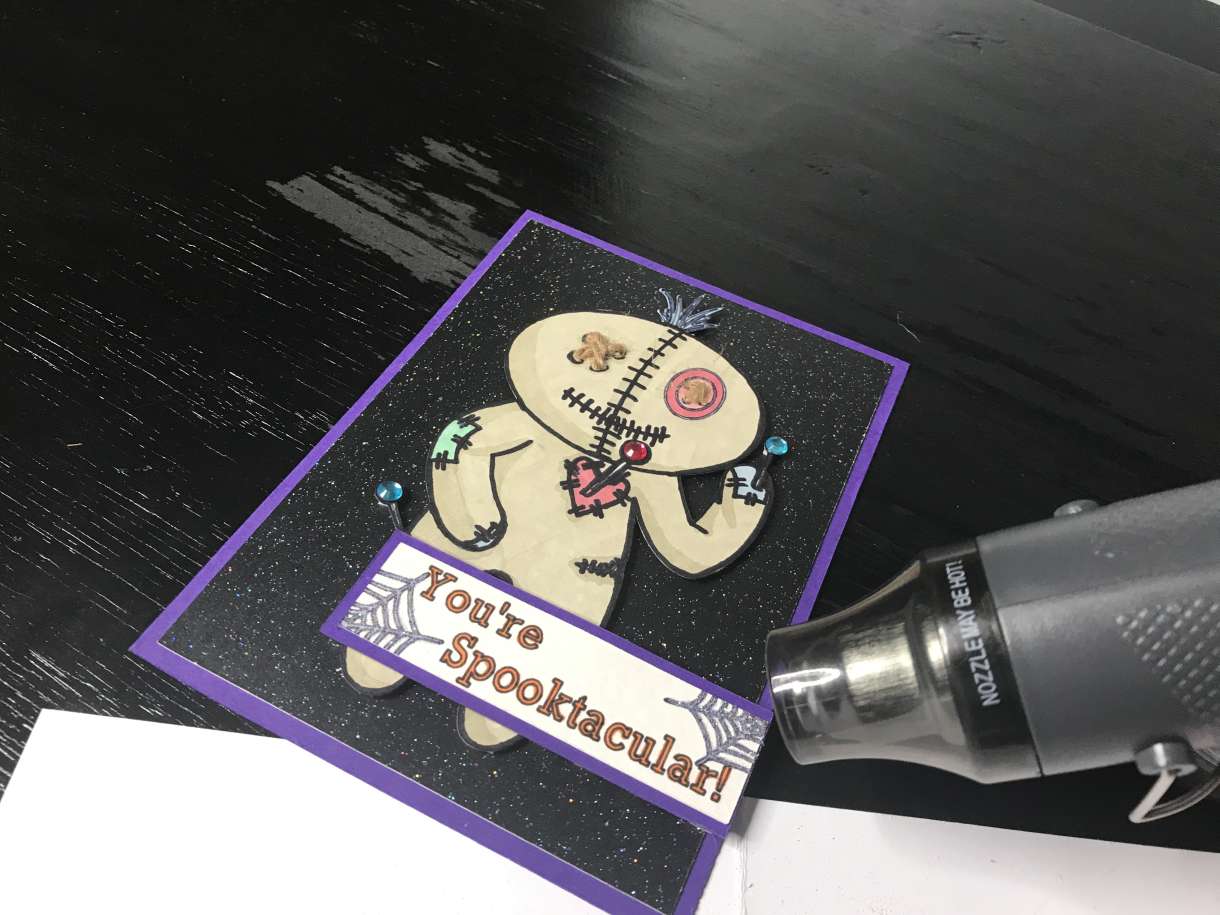
To stick the voodoo doll onto the card I used foam squares (foam tape would have been a lot easier, so I recommend trying to use that if have it). Once I covered the back of the doll I stuck the doll on top of the charcoal Sparkle Card making sure it was centred. I also wanted to add dimension to the rectangular piece so I covered the back in foam squares again but had to double up on some parts because of the voodoo dolls dimension. I also wrote the words ‘You’re Spooktacular!’ Onto the white rectangle as well as a cobweb on two of the corners. I coloured in the words with the colour Mandarin.


The final step is again optional, I chose to apply some embossing powders to the cobwebs, you can never have enough glitter!
For this I used my embossing buddy and dabbed it over the card to ensure that the powder doesn’t stick anywhere else. Once I’d done this I blew away the excess powder and using the Wow! embossing pen i hand drew over the cobwebs and poured the embossing powder over the ink making sure it was fully covered. You then tip off the excess and tap the card a few times to ensure it was only on the ink, you then use the heat tool to heat up the powder until it sets up.


And there we have it, a super cute Halloween inspired Voodoo Doll Card!


Nobody has commented yet
Be the first to comment on this article by using the form below.