Look For Rainbows Card
0
Posted on 11th May 2022 by Samantha Burrow
Filed under Card Making Ideas
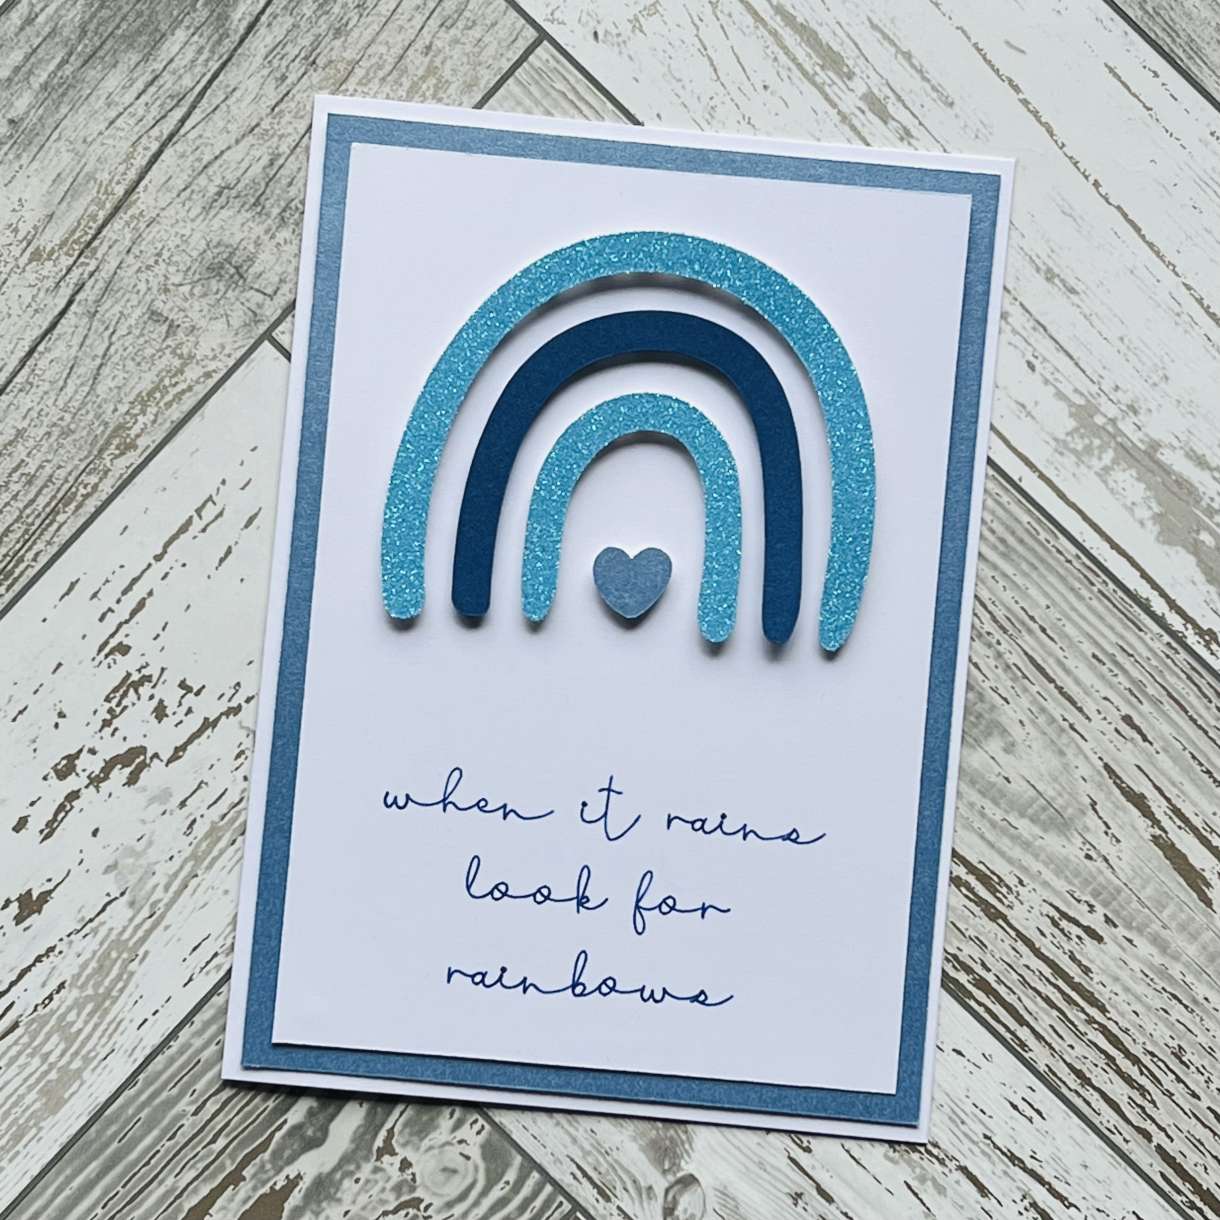
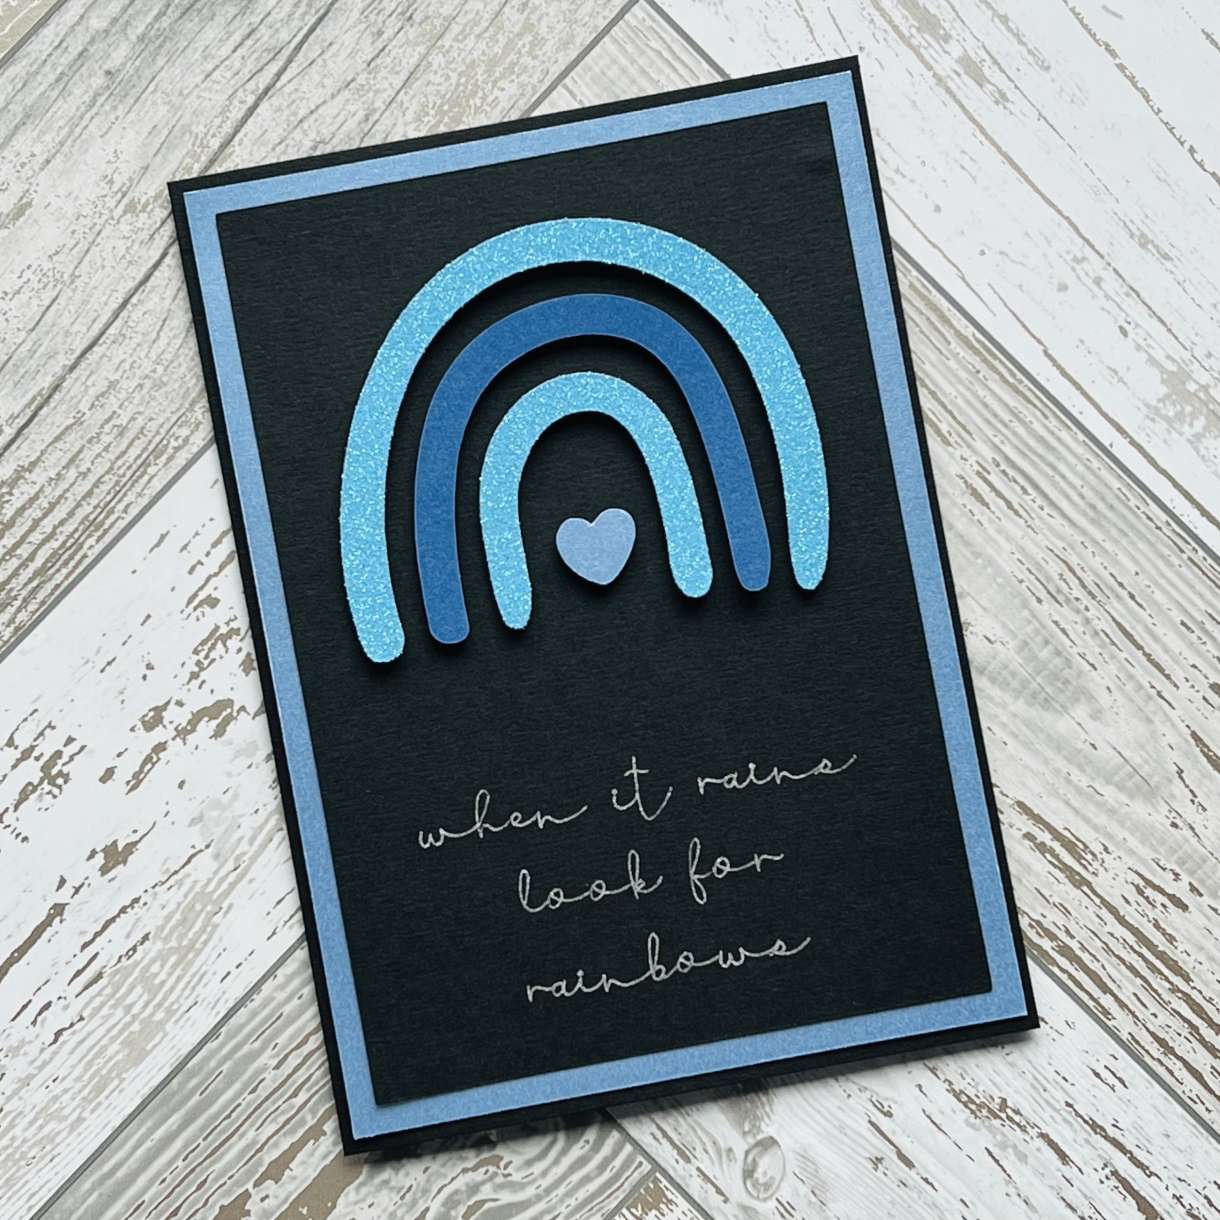
Open Cricut Design Space and select New Project to take you to the design canvas. Click on the Images button and search for image #M369896 (square) and click Add to Canvas.
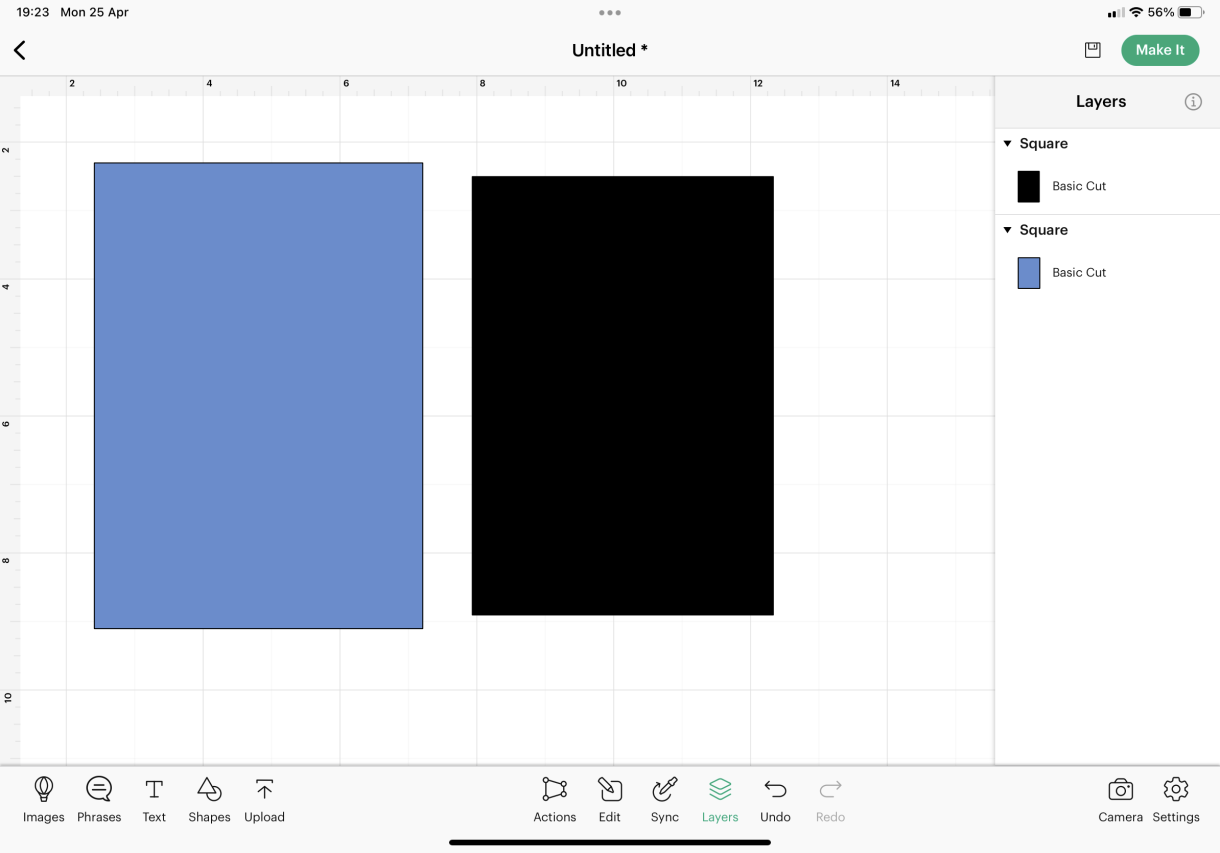
In the Edit panel, change the size the square shape to 4.8” x 6.8” (making sure you unlock the aspect ratio padlock) and change the colour to blue. Duplicate this square and resize the duplicate to 4.4” x 6.4” changing the colour to white or black to match your chosen card blank.
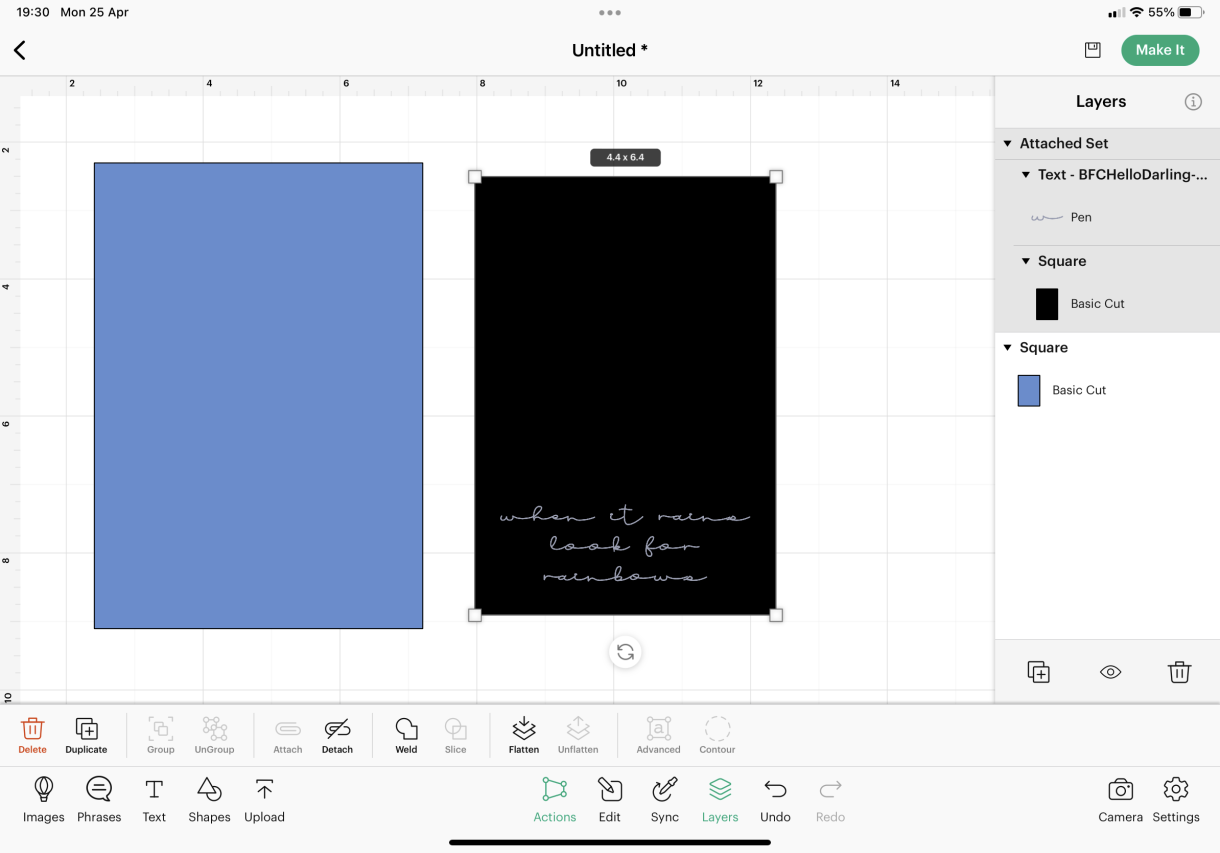
Click on the Text button and choose a font with writing function. For my design I picked ‘BFC Hello Darling’. Type the words “when it rains look for rainbows” and place the line spaces as pictured. Change the font to writing style, centre align and adjust the font size to 25. You may need to set the cut function to draw and here you can select your chosen Cricut pen, the glitter gel pens work fantastically for a sparkly finish.
Line the text up against the black (or white) square shape to your desired positioning. Select both the square and the text together and click Attach.
Click on the Images button again and search for image ID #M144644A4 (rainbow) and click Add to Canvas.
In the Layers Panel, select the individual elements of the rainbow image and change the colour to different shades of blue. I opted to colour the heart in the centre the same blue as the larger square.
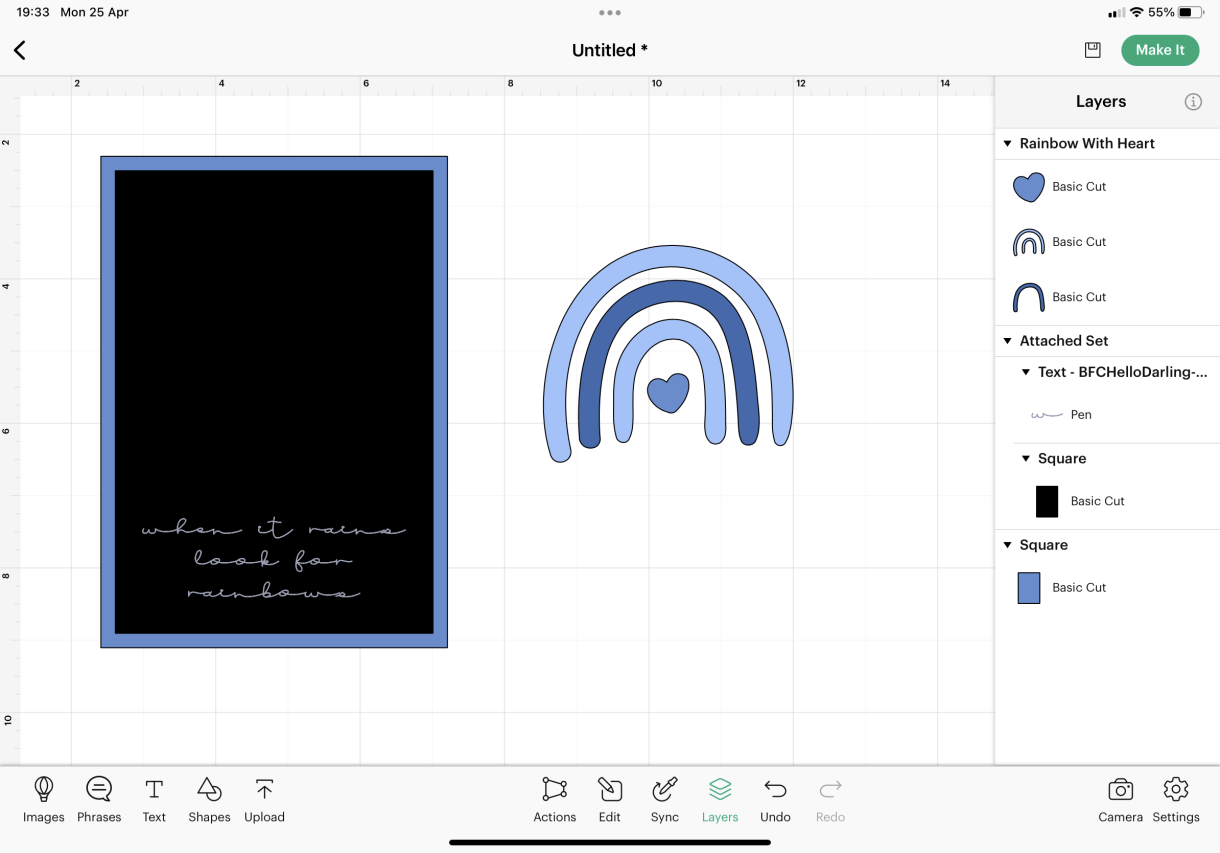
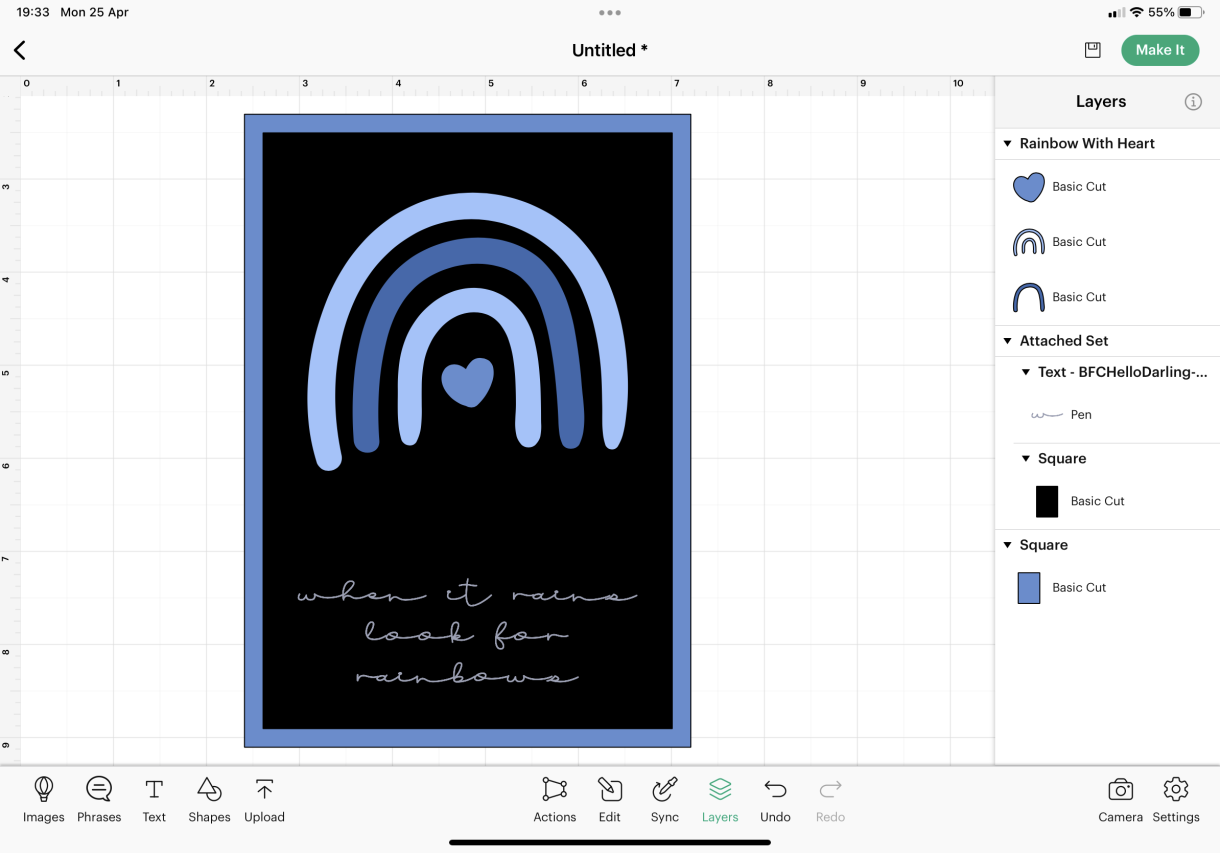
When you’re happy with your finished design, click Make It and follow the on-screen instructions to cut the shapes. Remembering the colour of your boards on screen relate to your card colours not the actual cutting mats.
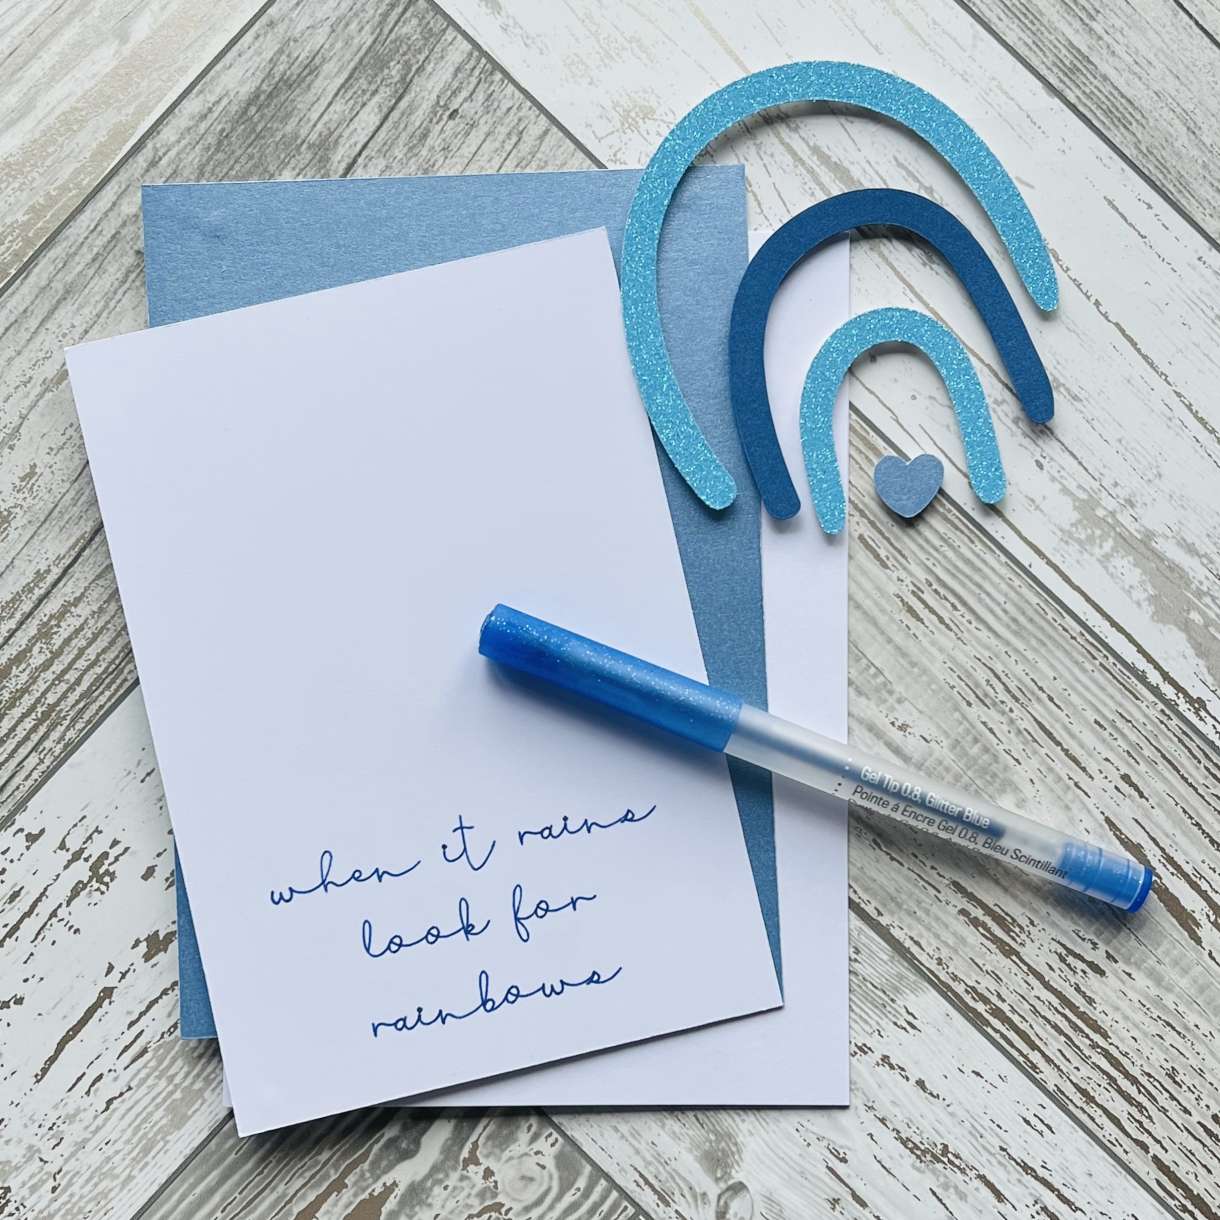
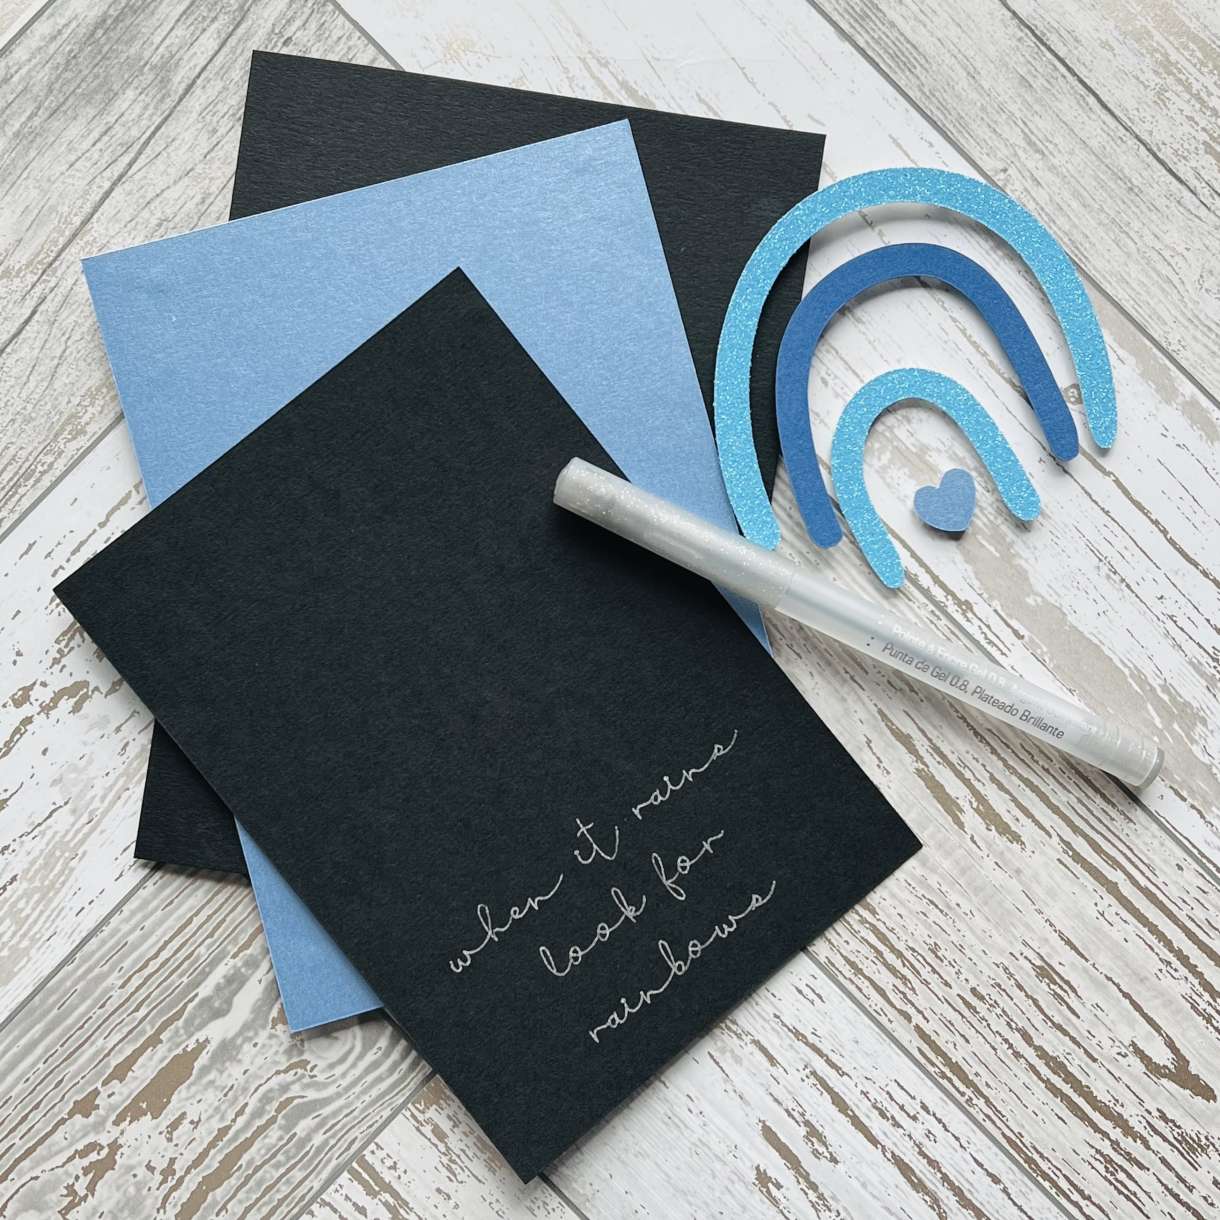
Using glue or tape, stick the blue panel to the card blank, and stick the smaller written card to the front of the blue panel. Using 3D foam pads, stick the elements of the rainbow to the front of the card.
For added bling, why not pop some adhesive gems around the rainbow or on the heart.


Nobody has commented yet
Be the first to comment on this article by using the form below.