How to use Spray Inks - Getting Inky with Barbara Daines!
7
Posted on 16th April 2014 by Barbara Daines
Filed under All Papercraft Tutorials, Design Team
How to use spray inks to create background interest for your cards
Hi everyone, Barbara here again with some inky tips... I'm no expert, but I do love experimenting with different colours. Here is a card making idea to add lots of unique interest to your card making.
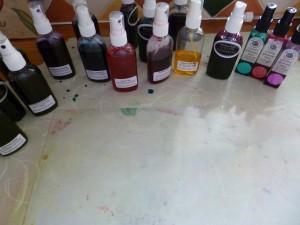
There are lots of different spray inks on the market, but I'm enjoying using Colour Chemistry inks from Oak House Studio. Their colours can be as vivid or as subtle as you want. I sometimes use a small amount of "Cosmic Shimmer" too, if I want a 'sheen'.
Word of Warning when using Spray Inks
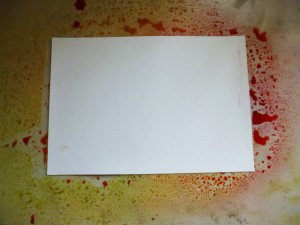
Make sure you cover your working area with newspaper or similar. I'm using vinyl wallpaper at the moment, which I bought for 50p from a 'sale bin'. I also use a 'splodgy' type of mat. Beware though, polished wood, kitchen worktops do NOT like some spray inks, as I found to my cost :-( (Colour Chemistry are fine!)
Spray your chosen ink colours onto the mat, and just 'lay' the card into the ink. I find if I drag the card stock through the ink, the colours go a bit 'muddy'
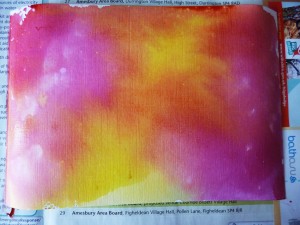
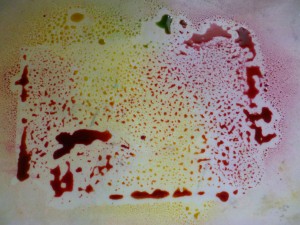
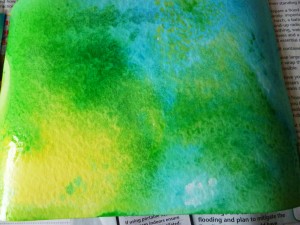
When you lift the card up, it should look something like this. At this stage you can leave it, or dab with kitchen roll if you want a more subtle colour....(I don't do subtle! ;-))
There will be enough ink on the mat to do 2 or 3 sheets of A5 card. Add a spray of water if you want it to go further.
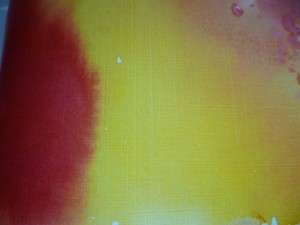
You can see here the texture of the White Linen embossed card from Papermilldirect.
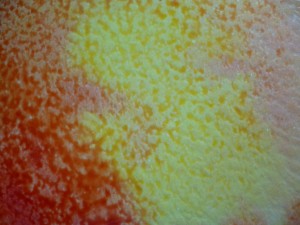
This effect is created using white hammered card from papermilldirect using exactly the same colours. I Love how the ink 'pools' in the dimples.
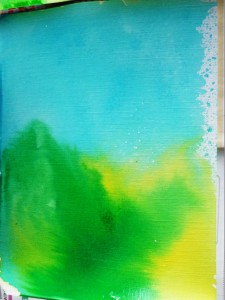
A change of colours (love these !) Again here you can see the difference between linen (on the left) and the hammered cardstock. The texture of the card you use is an important factor to consider.
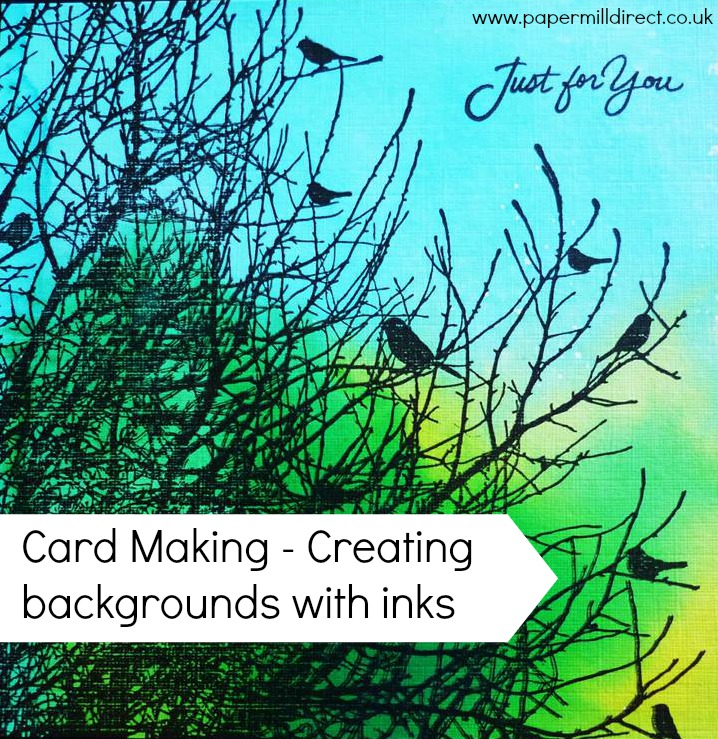
Then a very easy card made with the piece above (left) - I have simply stamped on the silhouettes and sentiment.
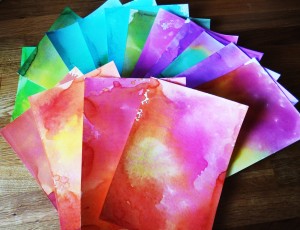
I now have loads more inked sheets ready for when I need them. These are now stored in a box, and I NEVER throw a scrap away.......even the tiniest piece is big enough for a little butterfly, flower or leaf.
Although I only do 6" x 6" cards, I always use A5 (A4 cut in half) pieces of card to ink, as the colours might be better at one end, than the other, so I have room to manoeuvre.
Hope you find the time to 'get inky' soon....we'd love to see your colour choices - you could share them with us over on the Papermilldirect Facebook page, or leave a comment with a link to where we can see them.
Barbara x




7 thoughts on “How to use Spray Inks - Getting Inky with Barbara Daines!”
Lea brawn
17th April 2014 at 11:41 p.m.
karin
17th April 2014 at 6:54 p.m.
seema
17th April 2014 at 5:26 p.m.
Joan
17th April 2014 at 12:23 p.m.
Linda Simpson
16th April 2014 at 4:03 p.m.
Sylv
16th April 2014 at 12:00 p.m.
Elaine
16th April 2014 at 10:48 a.m.