How to add Detail to Die Cuts
1
Posted on 30th June 2015 by Nessa Stokes
Filed under All Papercraft Tutorials, Design Team
Hello - it's Nessa here! Today I am going to showNessa you how I add detail to the die cuts that I use in my cardmaking.
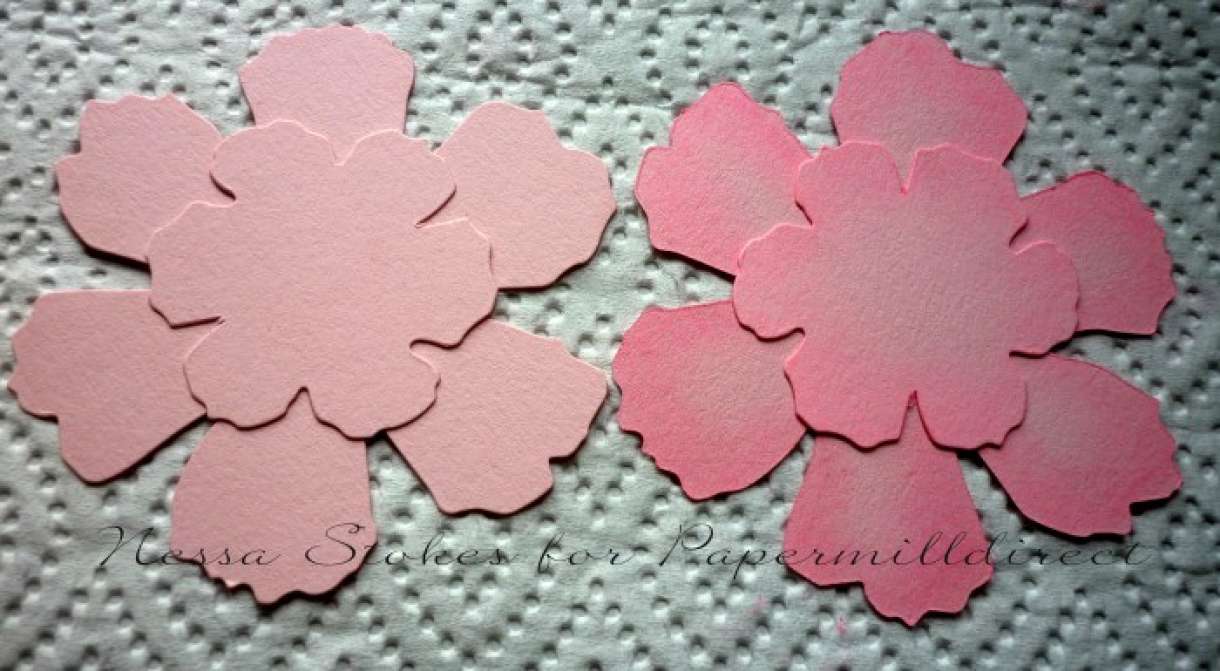
I am using a Tim Holtz Tattered Floral die and some gorgeous Baby Pink and Raspberry pink cardstock from Papermilldirect....

I am using cardmaking chalks,ink,a floral embossing folder and a white gel pen to add detail to my die cuts today.
To chalk my die cuts I use make up applicators(you can keep one for each colour)-load up the applicator with chalk and apply it to the outside edge of your die cuts working inwards in a circular motion-this will give you the darkest chalking on the edge,where it will be very effective ....

Chalking takes very little time,but gives such lovely results-what a difference to those die cuts!...

Inking die cuts is also very effective-hold your die cut in the centre and stroke the ink pad against the edge of the die cut working from the inside flicking outwards.I prefer to use a Chalk Ink for this as it gives a lovely soft effect.....

Embossing die cuts gives beautiful results-I have run these through a floral embossing folder ....

Now we have our die cuts all ready we can make some cards! I used some Papermilldirect hammered white card to make my card bases,some pretty papers from my stash and a scalloped border die to make my edging strips-the greeting stamp is also from my stash. I added the gel pen detail to the flowers once they were are all assembled ....

Chalking,embossing or inking-which effect do you prefer? ....

I hope you have enjoyed my first tutorial for Papermilldirect-and I hope you have fun trying out these simple ways to add detail to your die cuts.
Happy Crafting!
Nessa.


1 thought on “How to add Detail to Die Cuts”
LivesEls@talktalk.net
08th July 2015 at 3:06 p.m.