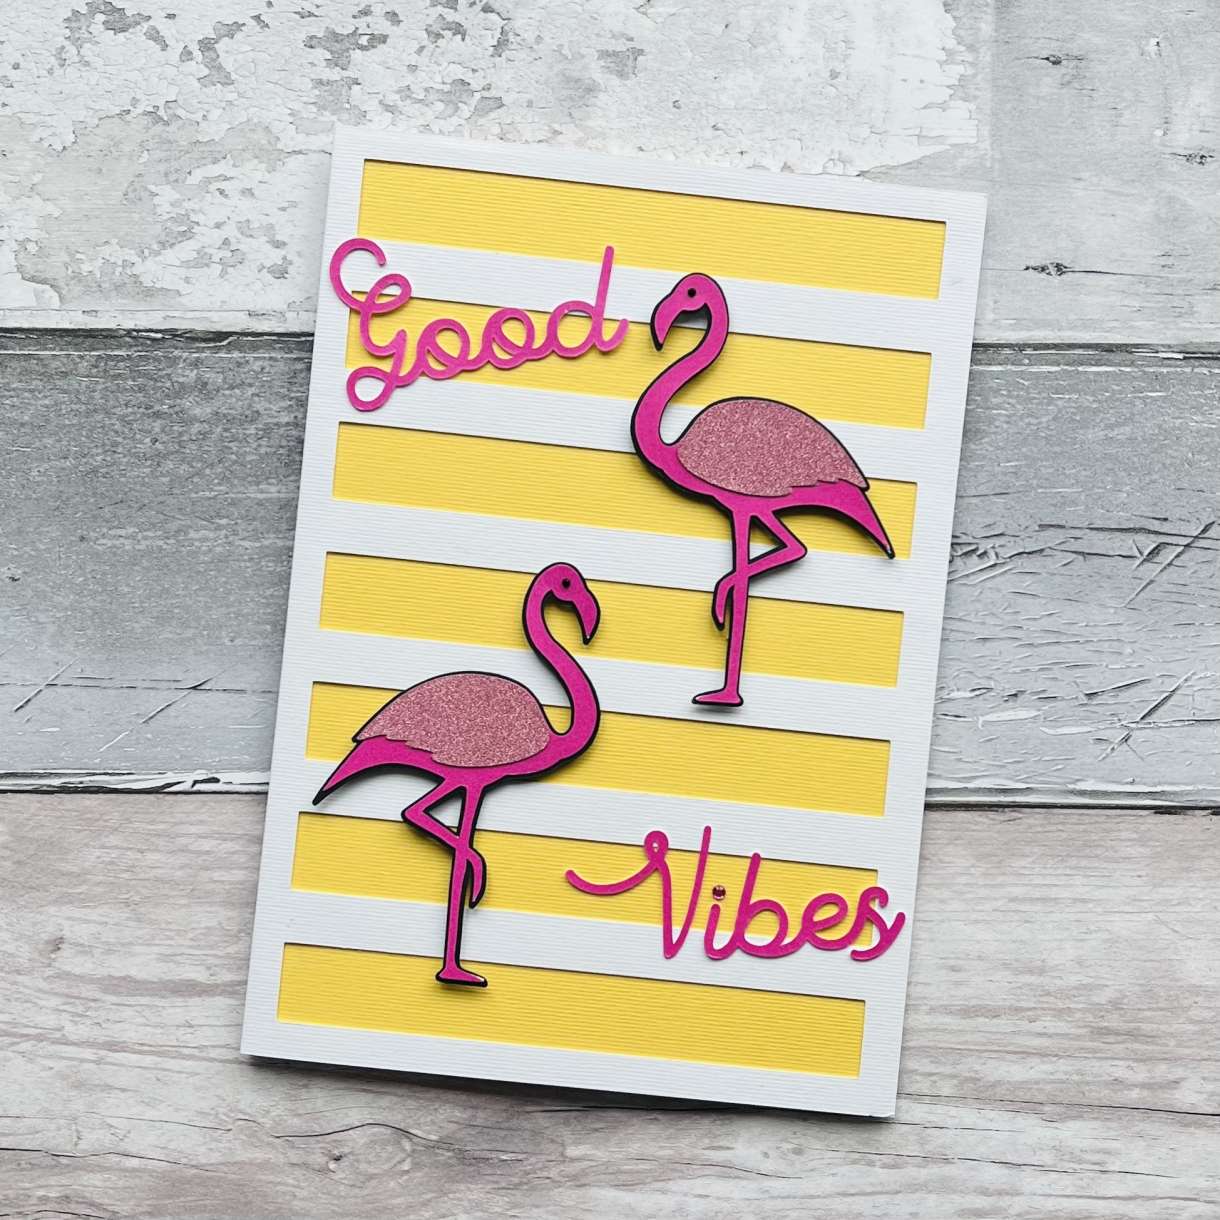
Good Vibes Flamingo Card
0
Posted on 20th June 2022 by Samantha Burrow
Filed under

Open Cricut Design Space and click New Project. Insert a square image, colour to white and resize to the finished size of your design. For these images, I worked with an A5 card blank, so the card base size I’m using is width 5.75” x height 8.25”.
Now insert a new square just a little smaller than the first (5.5” x 8.0”), and change the colour to yellow. Move the yellow square centrally behind the white square.

Insert another square shape, to size 5” x 0.75” and duplicate 6 times. Position one of these squares about 0.4” down from the top of the white square, and position another one about 0.4” up from the bottom. Align all six squares horizontally and distribute evenly. Once your happy with the spacing and sizing of the boxes, select all six squares and click weld.

Select the welded image of six squares along with the white square and click slice. Delete the sliced squares leaving a cut out white square over the yellow square.

Insert image #M54ADA and click ungroup to separate the elements of the image. In the layers panel recolour the two flamingo bases to match your chosen pearly pink, and recolour the two wings to match your chosen glittery pink.


Select the two wings, duplicate and align centrally over the first pair of wings. Hide the two duplicates and then select the original wings with the flamingo base images and weld together. Select both flamingo bases and in the Edit Panel use the Offset tool to create a background layer. I recommend using an offset of +0.05.


Select all the elements to the flamingo on the left, group and resize to width 2.5” x height 3.9”. Repeat this step for the flamingo on the right.

Insert image #M2A459D94 for the wording, click ungroup and delete the yellow wavy lines.

Click the remaining “Good Vibes” image, resize to width 3.05” x height 2.5” and click duplicate. Align both “Good Vibes” images centrally to each other. In the Action panel click the Contour of the first image and remove all the lines from the word “vibes”. Repeat this step for the second image, this time removing all the lines from the word “good”.


When you’re happy with your design and layout, click make it to move to the cutting stage. Remember that the colours of each mat correspond to your card colours. If you are using a pre-creased card blank as your white card base, you will need to line up the position of the design with the placement of your card blank on your cutting mat and I recommend using some plain paper first to check the alignment is correct.

Using glue or double-sided tape, fix the pieces together. The yellow card will lie flat against the back of your white card. Fix the wings to the flamingo’s and secure them to the card base with 3D foam pads. Finally stick the wording to the card base. Why not also try adding a Papermill Direct card insert to the inside of your card for a stylish finish.
If you’re more experienced with using Cricut Design Space, why not swap out the flamingo wings for a different wing image, using resize and weld tools you can alter the image to suit your style.


Nobody has commented yet
Be the first to comment on this article by using the form below.