Getting Messy With Shaving Foam And Inks
3
Posted on 3rd August 2016 by Sylvia Ames
Filed under Card Making Ideas, Papercraft Disciplines And Techniques, Design Team

Hi Sylvia here with my weekly post, a card and tag made using a background card made with shaving foam and inks, I love the lovely swirls and colour mix this technique gives to your backgrounds.
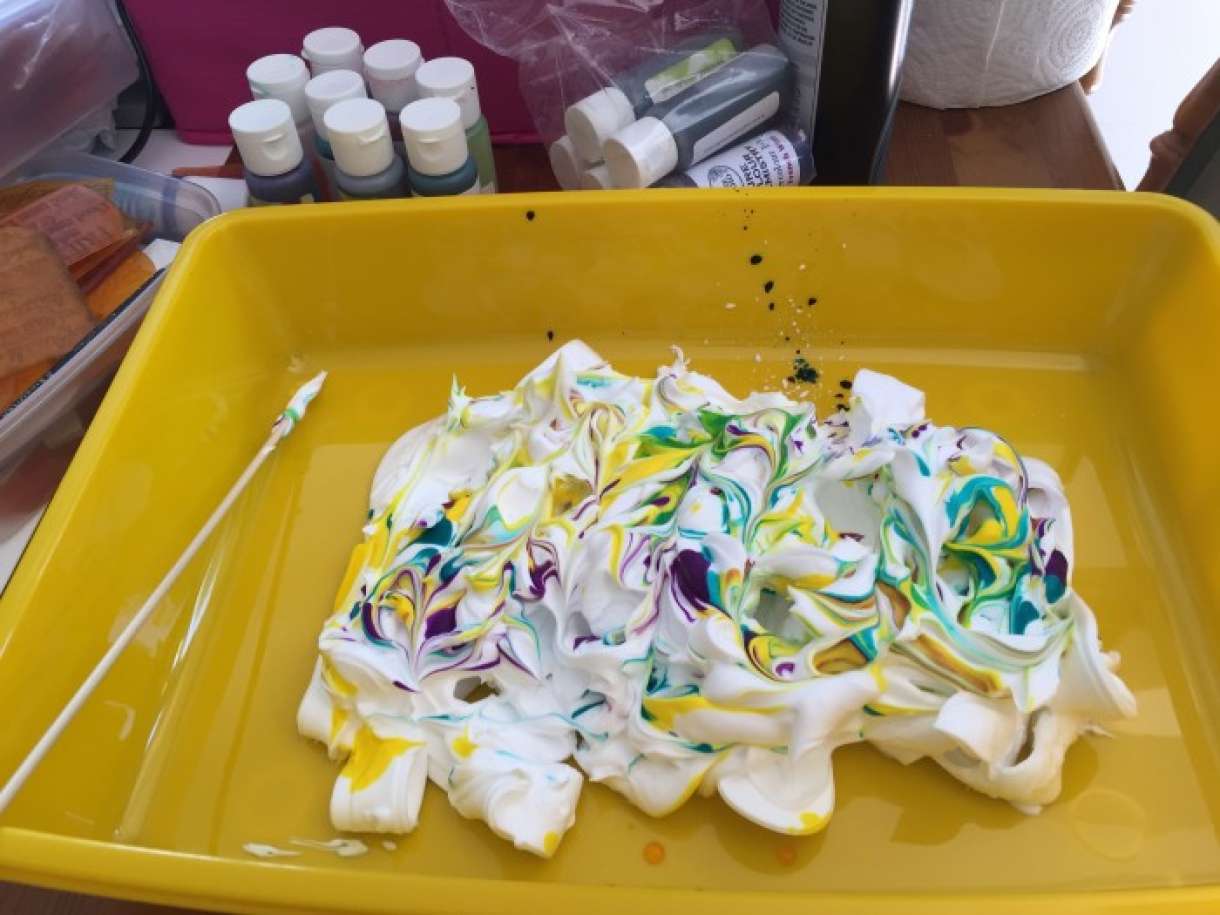
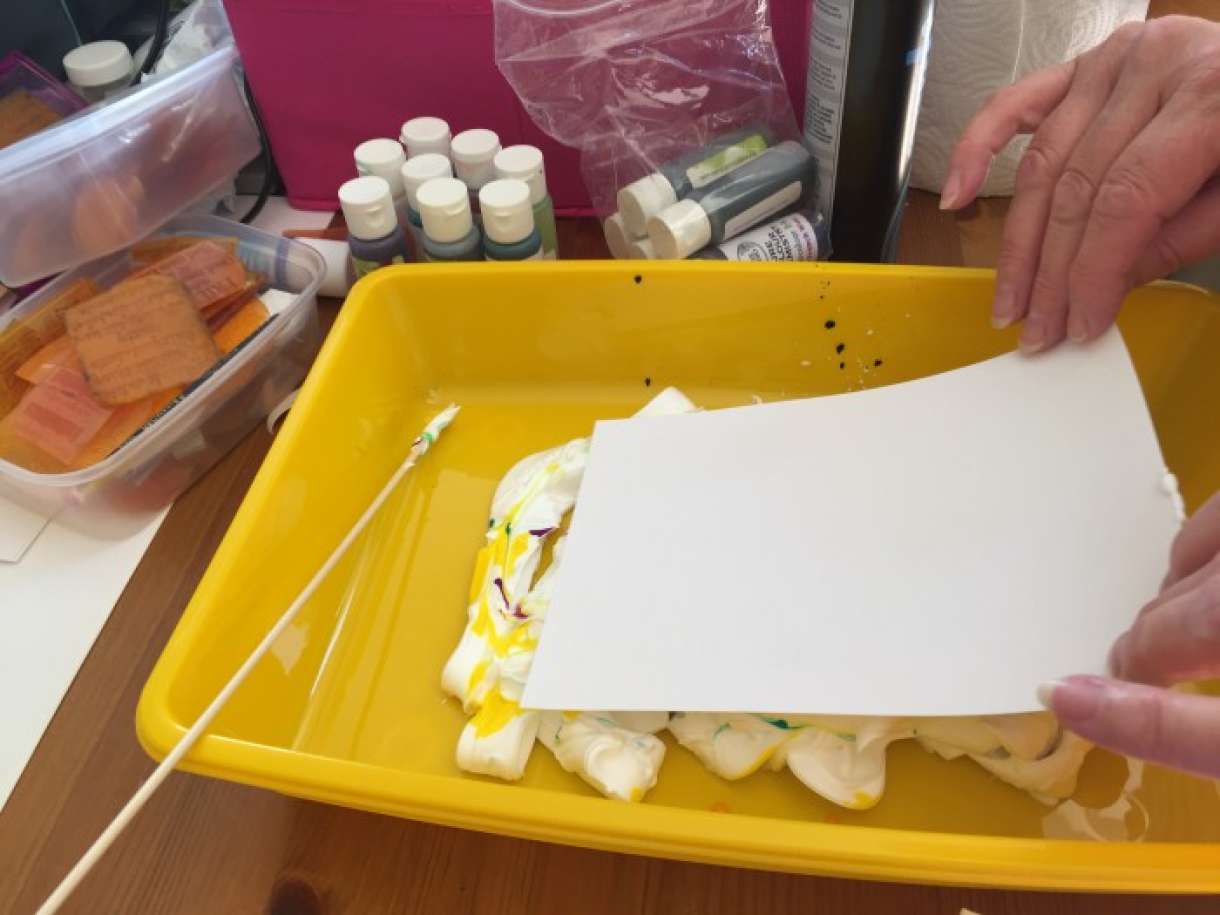
I am sure you all know how to make a background using this technique and it is great for getting the children involved, here are two photographs showing the basics for those who are new to the technique.

Spray shaving foam into a tray and drop ink onto the top of it, swirl it around to create a pattern. The children got carried away with the colours, I just used three totally turquoise, citrus lime and peacock green.

Place card on the inky foam and drag across. Wipe off the shaving foam to reveal the inky pattern. You soon get the hang of it after two or three goes.
From my A4 piece of coloured card I cut a tag and a panel to make a 15cm x 15cm card. I stencilled these with white gesso and left it to dry. When it was dry I did some more stencilling with pigment inks then stamped the rose elements and sentiments. The tag was mounted onto black card and finished with a piece of green raffia which matched the colours in the background. The card panel was mounted onto black card and added to a card blank.

Materials I used:
- Papermilldirect special offer 300gsm value white, white linen and black cardstock
- Shaving foam
- Oak House Studio pure colour chemistry inks
- Oak House Studio pigment inks
- Oak House Studio stamps rose bumper collection, rosette flower texture stamp, women's words and men's words sentiments
- various stencils
- white gesso
- black Archival ink
Sylv xx


3 thoughts on “Getting Messy With Shaving Foam And Inks”
Elsa Dowling
20th October 2016 at 7:50 a.m.
Elaine
03rd August 2016 at 6:31 p.m.
Anne Squire
03rd August 2016 at 3:43 p.m.