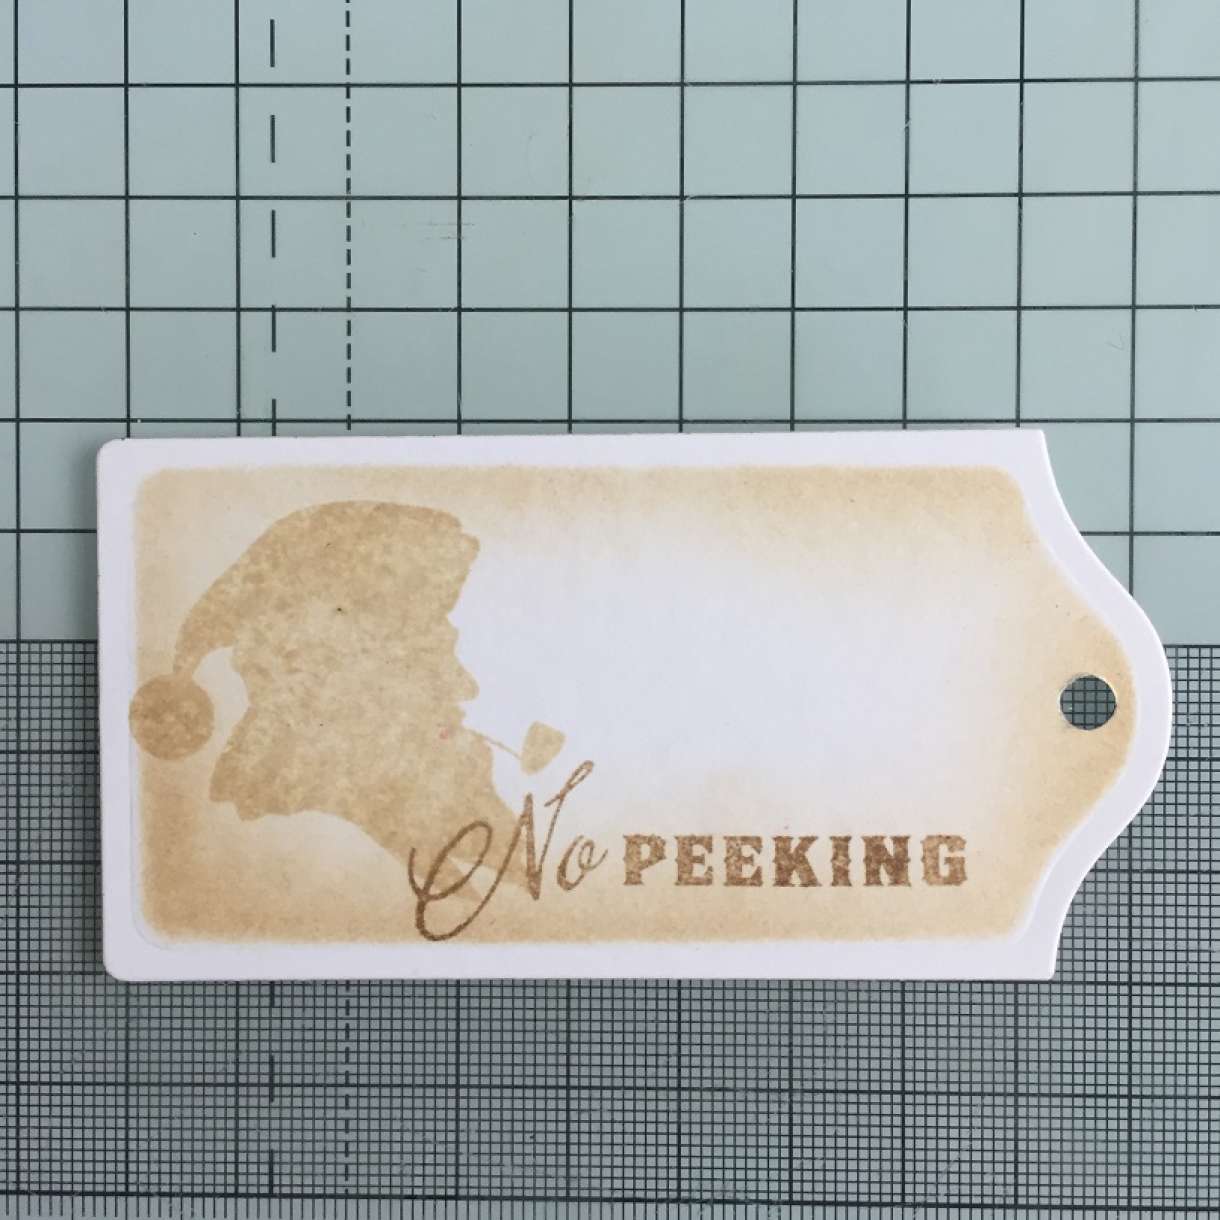
DIY GIft Tags - No Peeking Christmas Tags
2
Posted on 29th September 2015 by Sandra Dunne
Filed under All Papercraft Tutorials, Projects And Cards By Type, Gift Tag Ideas
Hi! It's Sandie here today and I am sharing how I make my tags that I use on Christmas gifts
Supplies
Plain White card
Stamps - Waltzingmouse Stamps : Santa's Coming to Town
Distress Inks - Antique Linen and Brushed Corduroy
Tags Dies
Blending tool or sponge dauber
Twine
Ribbon
Die cutting machine

Using the cuttlebug or similar die cutting machine cut all 3 tags, lining them up largest to smallest.

To get the most out of your card, cut the next 3 tags from from smallest to largest.

Place the die back over the tags and sponge some Antique Linen distress ink onto the card with a blending tool.

When you remove the die, there is a white border all around.

Taking the Antique Linen again, stamp Santa silhouette

Taking the Brushed Corduroy ink, stamp the sentiment.

Punch a hole at the top of the tag.

Thread ribbon through the hole, ensuring the tails are long enough to tie around the gift.

Make the smaller tags using a similar design and thread twine through a smaller hole at the top of them.


2 thoughts on “DIY GIft Tags - No Peeking Christmas Tags”
Rachel Bowen
05th October 2015 at 7:33 p.m.
Angela Dodson
05th October 2015 at 9:52 a.m.