Classy Geometric Thank You Card
0
Posted on 5th November 2022 by Danielle Bigland
Filed under Card Making Ideas, All Papercraft Tutorials, Papercraft Disciplines And Techniques, Die Cutting Techniques, Design Team, Thank You Cards
Hello crafter's.
I hope you're all well.
Today I want to show you how to make a really simple card with good quality card as the focus. I love using these geometric shapes for this purpose. I'll show you how I did it....
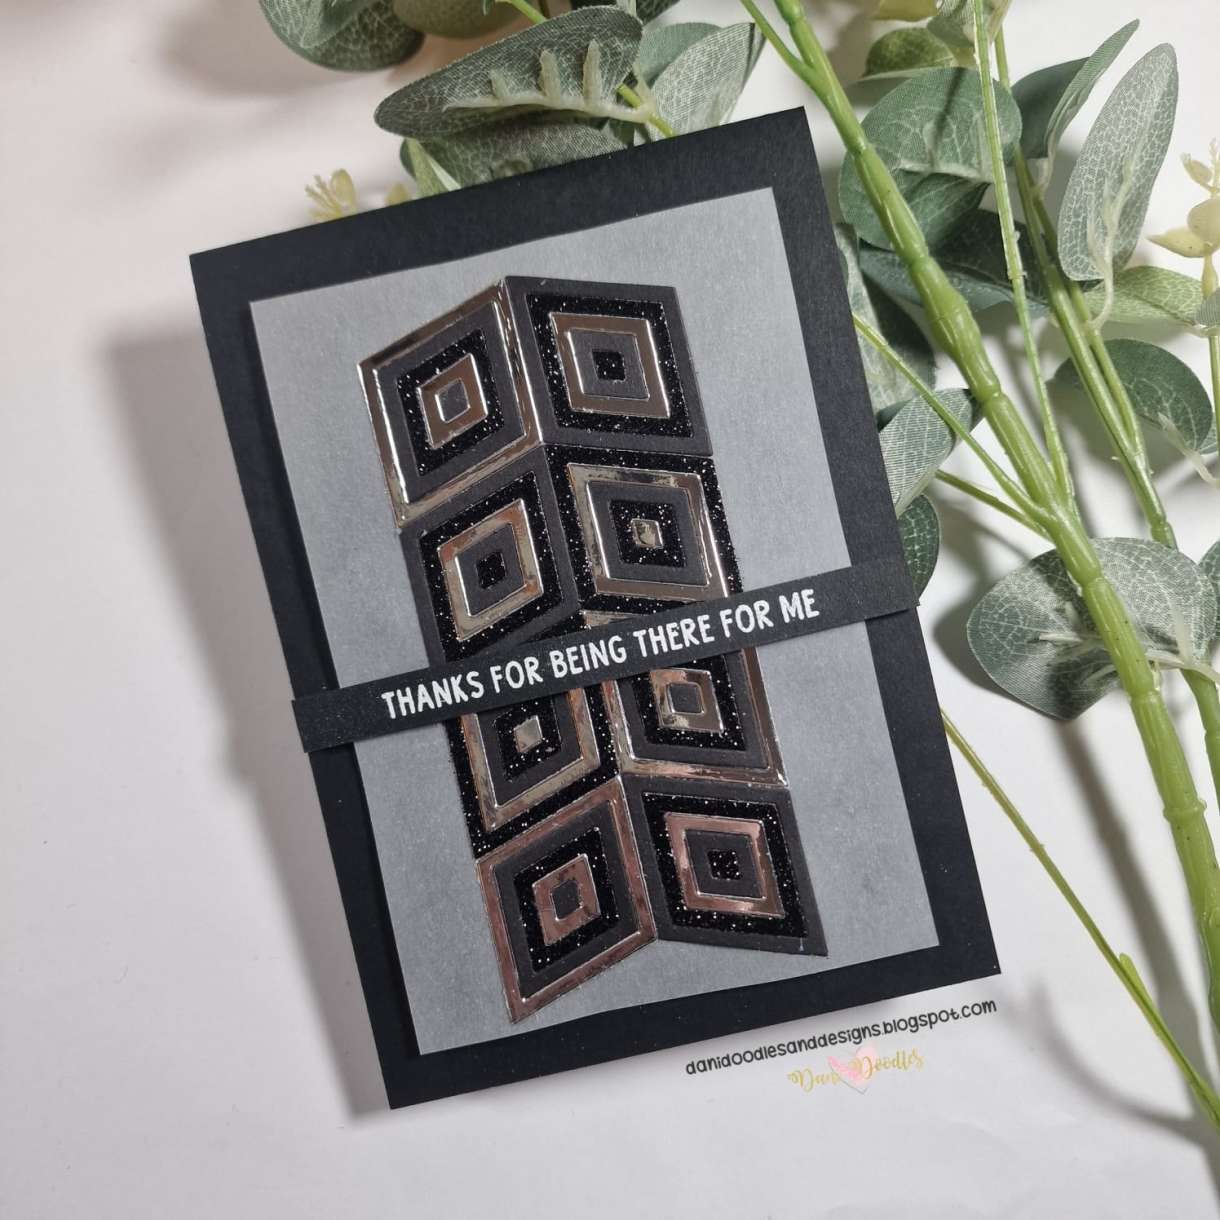
First, I took a selection of Plain Black Card 240gsm, Black Glitter Card 220gsm and Silver Mirror Card 270gsm and run each of them through my die cutting machine with the geometric die 8 times.
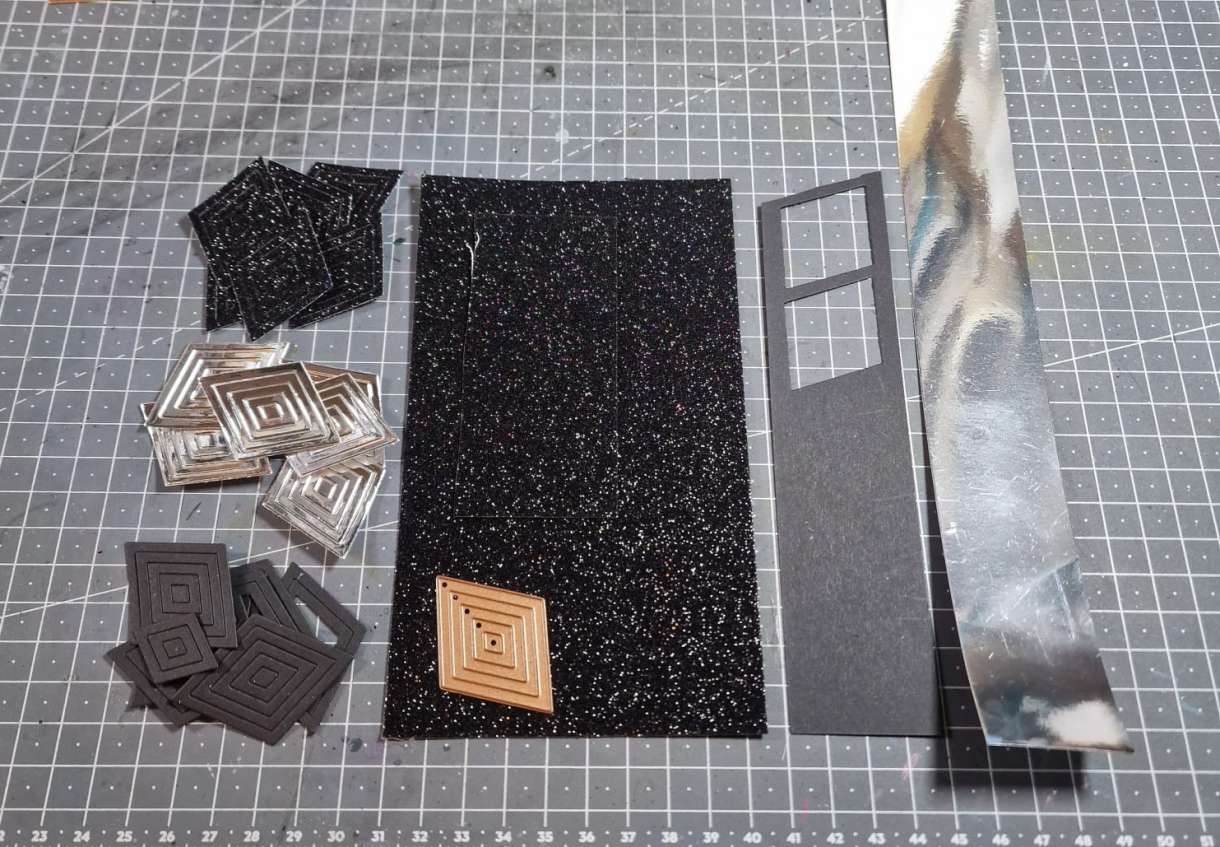
I cut a piece of 180gsm Vellum approx 1cm smaller round each edge than an A6 card blank.
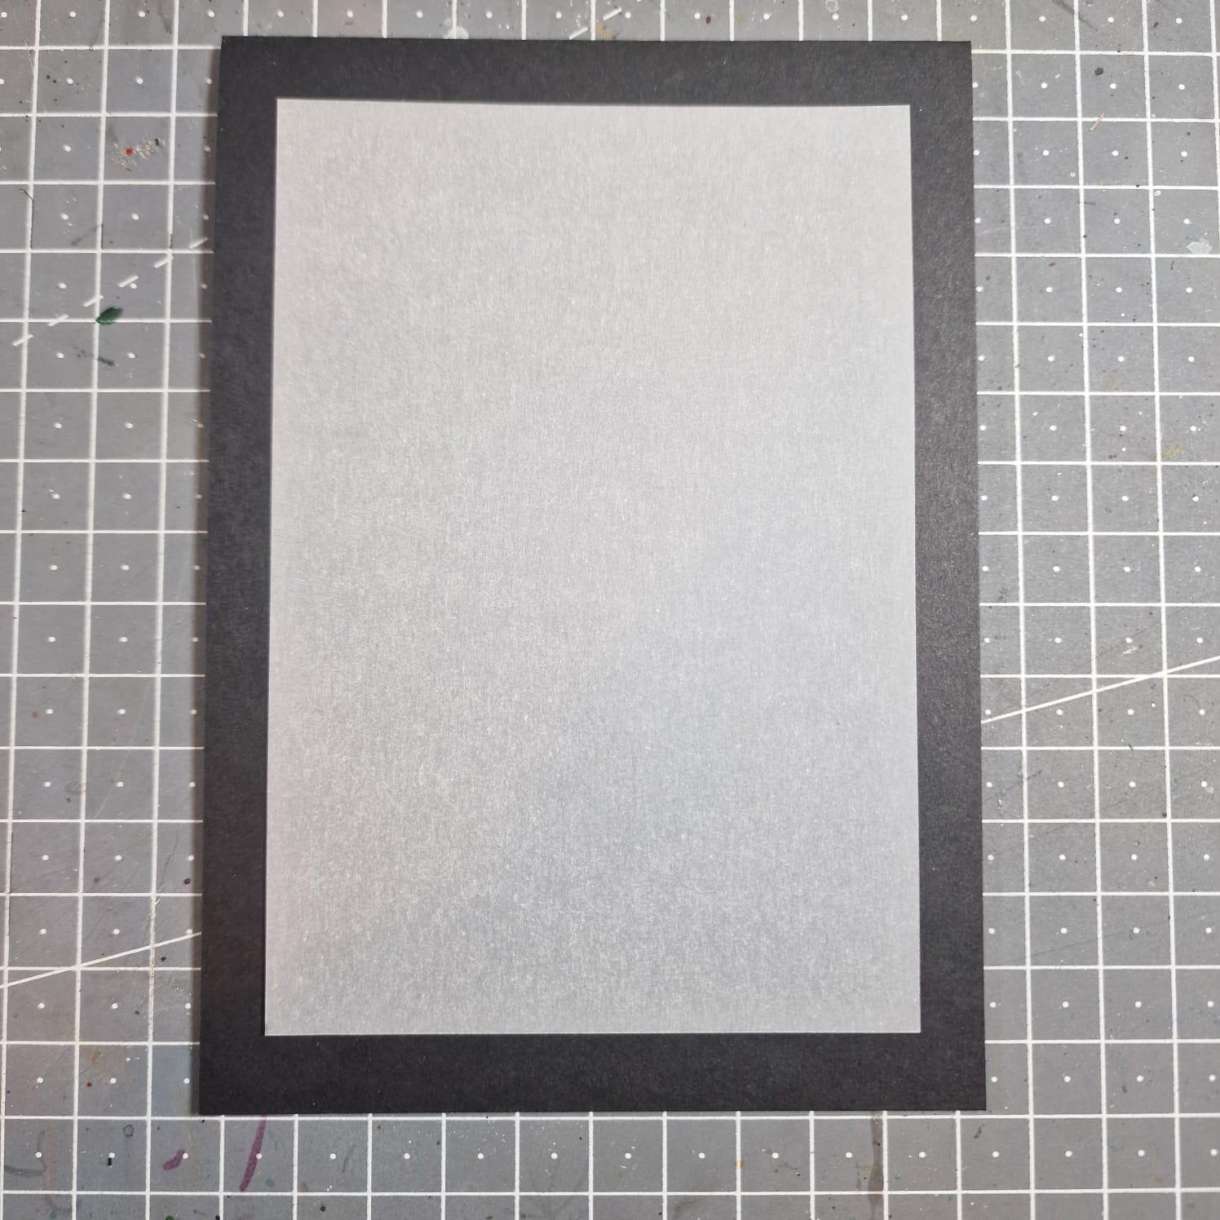
I layed out the shapes as I finally wanted them and played around until I was happy with the composition and space. I used the lines on my craft mat to ensure they were straight. Then, I went in and adhered using wet glue just the outer parts of the die cuts. I planned a pattern - black, glitter then mirror - and went in with the next size down and so on in that pattern until all the shapes were filled.
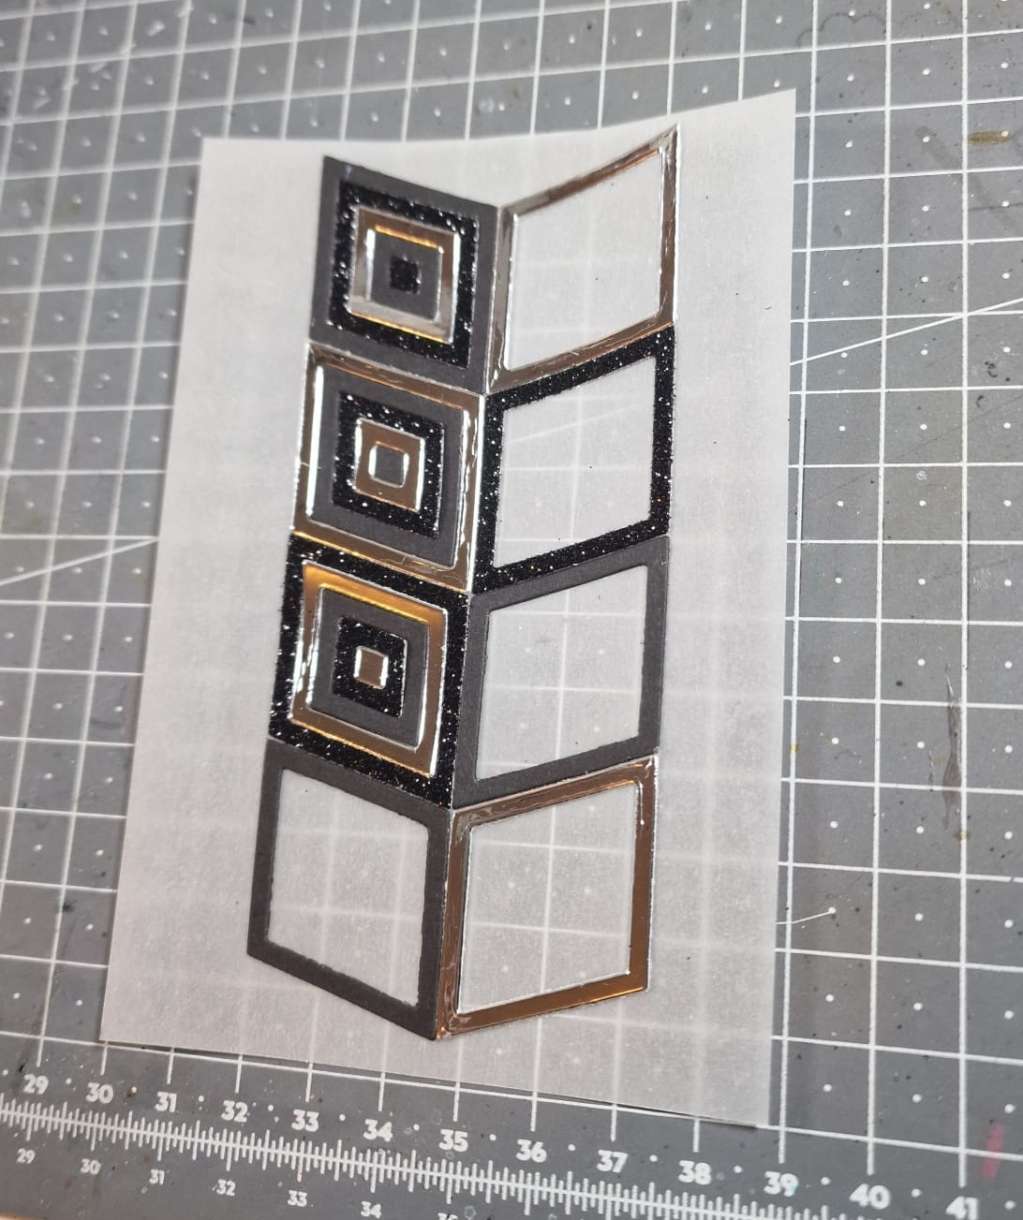
I flipped the vellum panel over and adhered foam tape JUST BEHIND the geometric shapes where they wouldn't be seen. I then stuck this down to a black A6 top folding card blank.
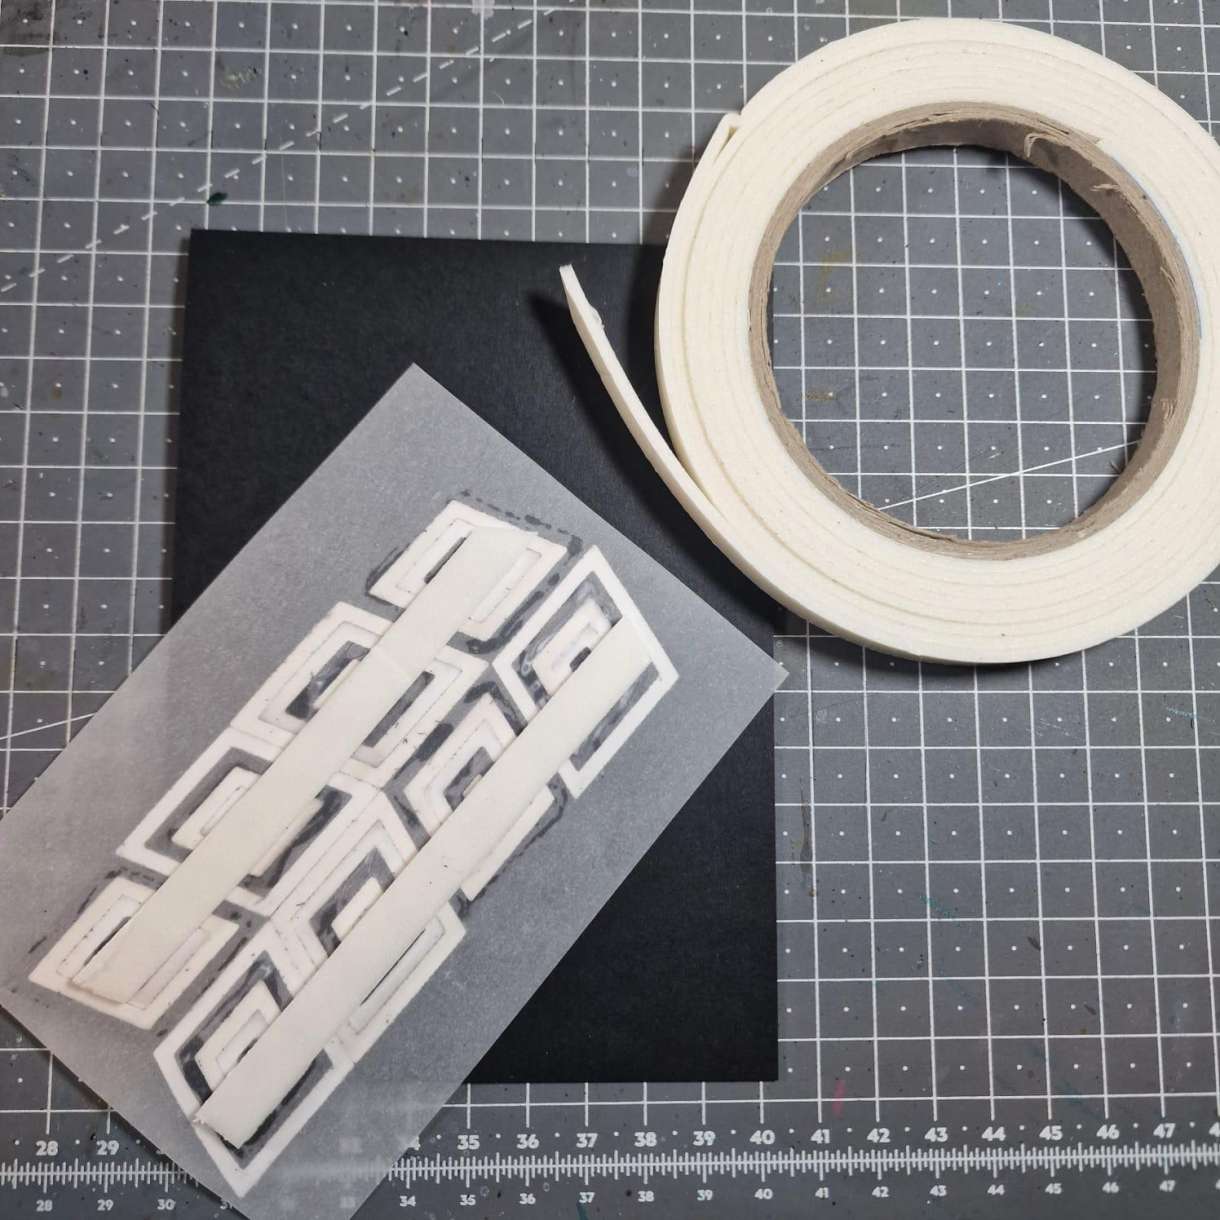
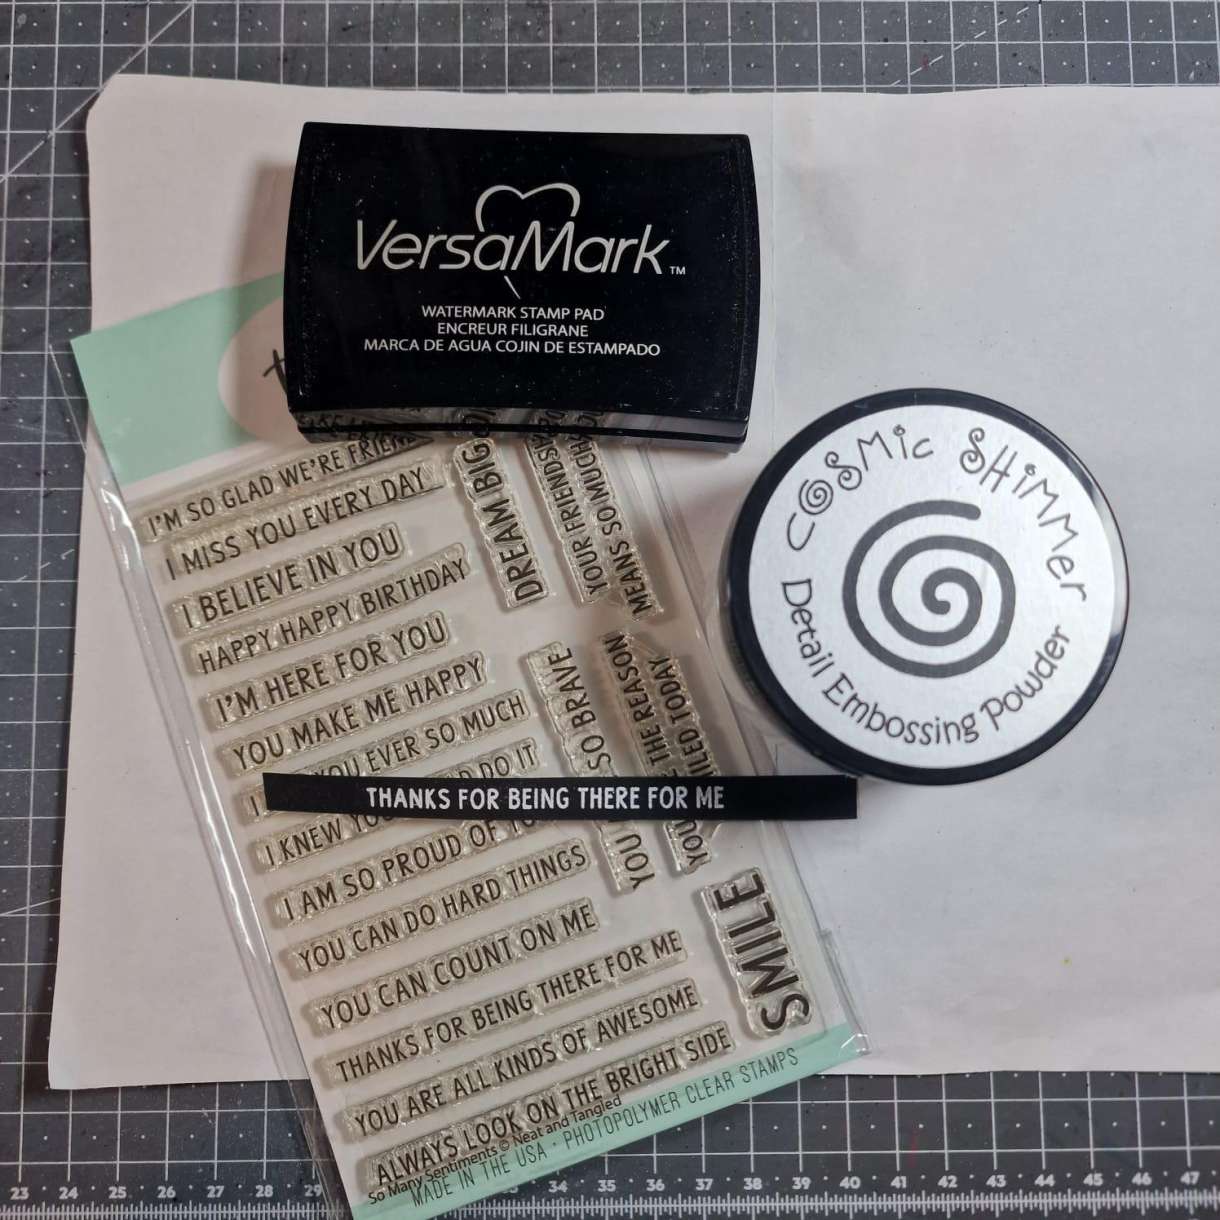
Finally, I created the sentiment which I heat embossed. The vellum had warped ever so slightly so I adhered the sentiment strip at either end with foam tape to give the vellum extra stability.
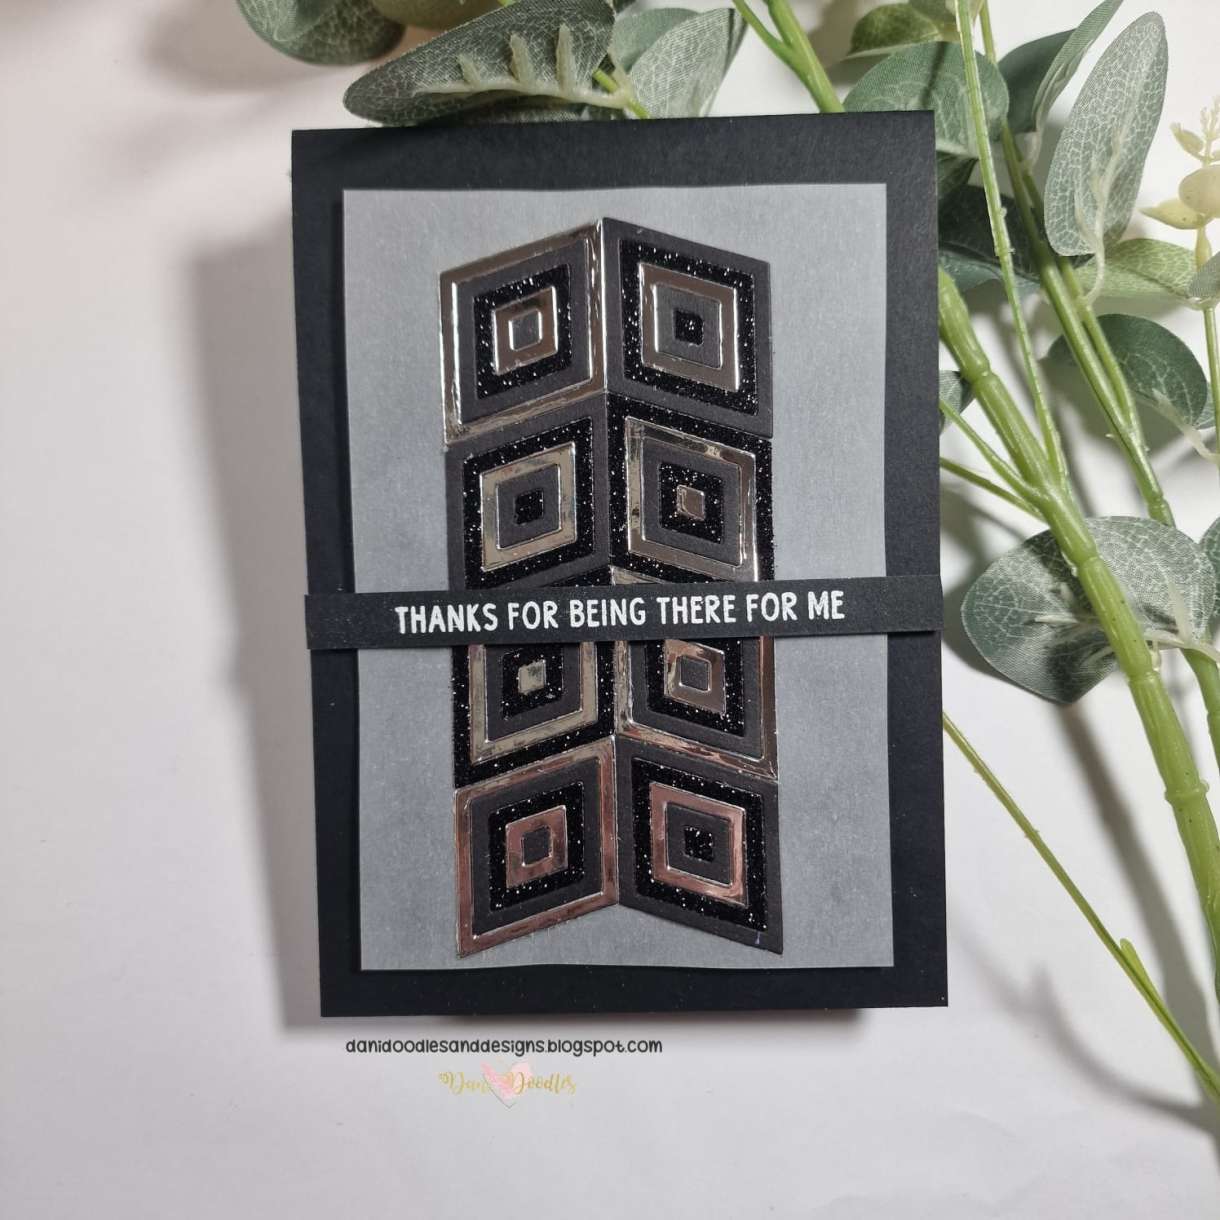
This completes the card!
These cards are really fun to do. Piecing the shapes together is very therapeutic. It's so important to use good quality card for this process as I did, to ensure good stability for all shapes to align properly.
I hope you enjoyed this tutorial. I hope to see you again soon!
Dani xx


Nobody has commented yet
Be the first to comment on this article by using the form below.