Carrot Boxes for Easter!
0
Posted on 14th April 2025 by Papermill Direct
Filed under Seasonal Crafts, Easter Craft Ideas, Gift Pillow Box, 3D Cards
Why make Carrots Boxes?
Well, the first idea that hops to mind is for Easter of course! A lot of people associate Easter with the Easter Bunny, and you can't think of bunnies without imagining them eating a big old orange carrot! Creating these adorable carrots can be a great biodegradable alternative to the plastic eggs sold in stores whilst still offering the freedom to fill it with your favourite chocolates or sweets. You can pre-cut these boxes and involve little hands in the decorating to create an Easter themed craft activities to keep you all entertained through the school holidays.
Carrot Boxes for Gardeners!
These boxes would be brilliant for a gardener's big birthday! If you're planning a 30th, 40th, 50th, 60th Birthday party for someone who would rather spend the day tending to their garden, then these carrots will bring a smile to their face. Fill them with wildflower seeds or gummy worms for folk to take home or hang them around the garden as decorations.
Don't make them into carrots!
If you're a creative soul then you'll be able to see the potential in this template to turn it into a few different ideas! You could make enough boxes to create a cake display and decorate them to resemble slices of cake instead. The boxes would be wonderful for holding flower petals to be used at a wedding or turned into wedding favors and used to decorate tables at the reception. You could add photos of the couple on the sides of the boxes, funny facts about the couple, or conversation starters.

Let's Spring into action!
We've been busy creating these super cute carrot boxes with help from Creative Fabrica, who created the cutting file.
We've only used two types of card for these boxes, which are listed below, plus some extra bits you'll need for creating the boxes and detailing them.
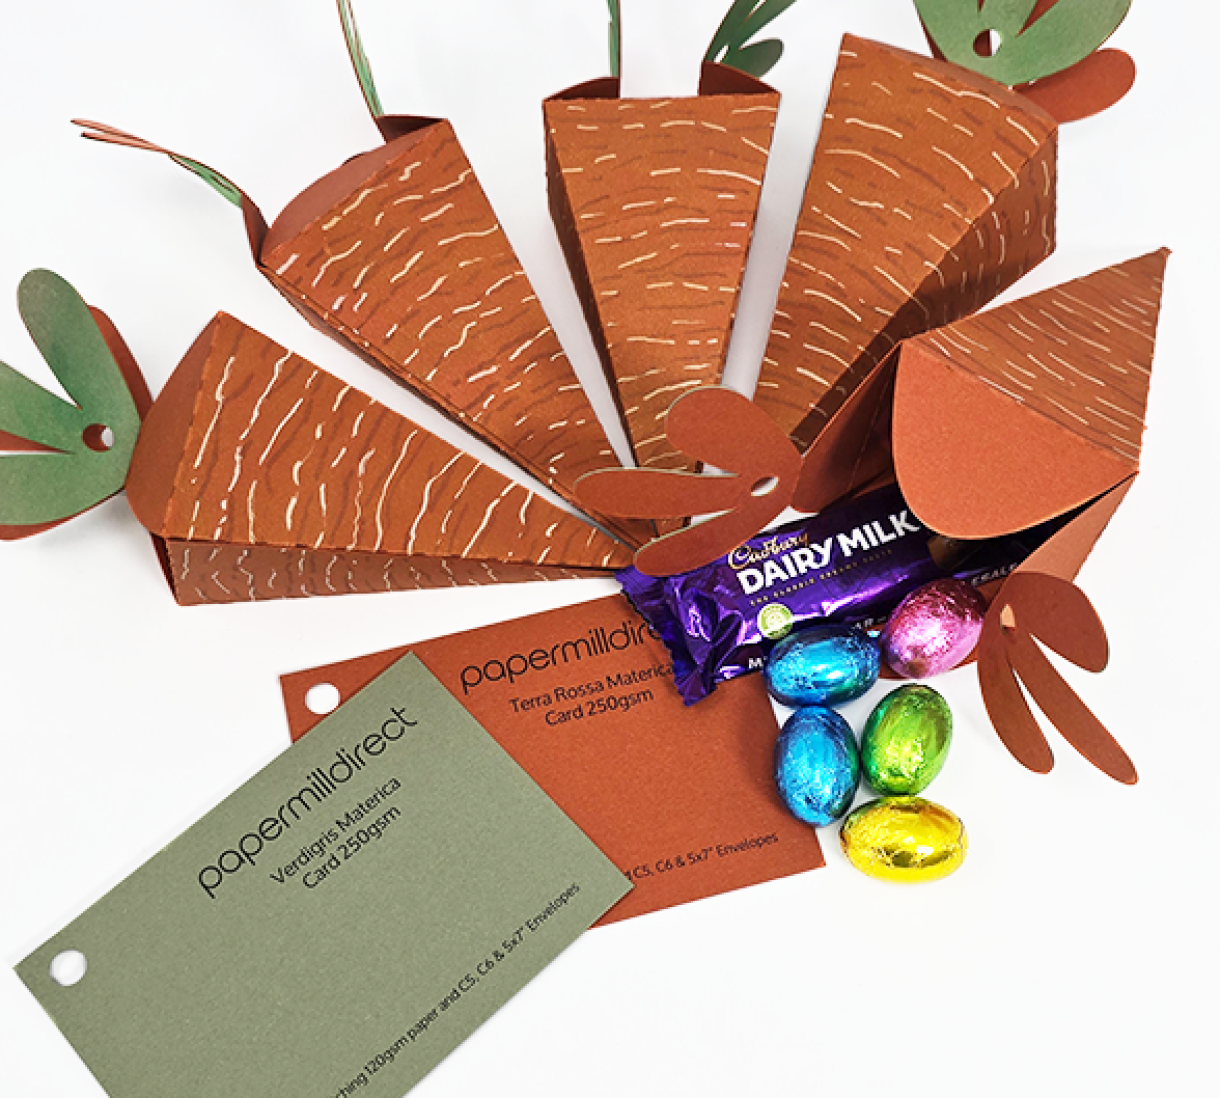
Card used:
Terra Rossa Materica Card 250gsm
Verdigris Materica Card 250gsm
What else you'll need:
Cutting Machine
Double Sided Tape
Twine or String
Extra for details:
Ink pads - Green, Brown, Yellow/Gold
Pens for details - Brown & White
We got our cutting file from Creative Fabric.
Here's the link to the file we used: https://www.creativefabrica.co...
Have a look through their website for more projects, there's plenty to choose from!
Once we had downloaded the file from Creative Fabrica we placed the image into Silhouette Studio and checked it would fit on an A4 sheet. The file was already a perfect size so it was almost as easy as placing it and then sending it to cut!
You will need to separate the compound path if you want to cut the carrot leaves cut separately from the box. I did this by right-clicking on the carrot and leaves image and selecting the release compound path option. Then you must carefully move the leaves away from the carrot box, when moving the leaves, you need to ensure the holes inside the leaves are selected too so that it all moves together.

We used a Silhouette Cameo to cut the Carrots.
Our settings were:
Cardstock - Glitter
Blade Depth - 8
Force - 33
Passes - 2
Speed - 3

Once your cutting machine has cut the card then remove it from the cutting matt and resist the urge to immediately fold the carrot into a box! We're going to add some details and it's easier to do whilst the card still lays flat.

Grab your ink pads now because we're about to add some depth!
For your carrots, you'll want a brown and yellow or gold. I used a finger dabber to apply streaks of brown and gold to the carrot. I then used a blending stamping to blend my streaks slightly.
For the Carrot Leaves, I used two different types of green ink to create depth. I applied the ink at the base of the leaves and then blended it out to the top of my leaves.

Once I was happy with how I had applied the ink, I then used a Tim Holtz Ranger Pen to add more details to my carrot.

I then used a Sakura Caligraphy pen for the highlights of the carrot.
I like how bright the white from my Sakura pen appears against the Terra Cotta Materica Card unfortuneately for this project I need the white to be a little less contrasting!

I then used double sided tape to add the green leaves to the carrot box.

I used my blending stamping to go over the carrot once more time before sticking it all together as I wanted to add a slight bit of colour on top of the white lines as I found the white popped just a touch too much for this project.

Once I was happy with how the carrot looked, I used double-sided tape and prefolded all the sides of the card then stuck the box together.

To finish your carrot box you'll need to fill it with some lovely treats! If you're making these for Easter then you can fill them with little eggs Or if you're thinking about creating these for a garden party then it could be fun to fill them with gummy worms or wildflower seeds!


Nobody has commented yet
Be the first to comment on this article by using the form below.