2019 Creative Calendars Part 3
1
Posted on 4th September 2018 by Nicole Mullen
Filed under
This is my final installment in my Papermilldirect 2019 Create-a-Calendar series. I love working on them because of the creativity they allow you. Last year I picked a different theme for each month that reflected the month, like Christmas in December, back to school in September, summer in August and so on. This year I decided on a literary theme. I found quotes that reflected each month and printed them on Papermilldirect Hammered White Card. I then die cut these out using a frame die. I cut the outer part of the frame in varying Papermilldirect card colours. In this post I will share the final 4 months with you!
For September I used Papermilldirect Mid Green Card. I created a water coloured background using Evergreen Bough and Mowed Lawn Distress Inks. I stamped on this with a leaf stamp in Coffee Archival ink. I liked how these were skeleton leaves and let lots of the background still show through.


For October I just had to use the wonderfully bright and fun Intensive Orange Card. This went so perfectly with the Mustard Seed, Rusty Hinge and Spiced Marmalade Distress Inks I used then. The pumpkins I 'coloured' using the Rusty Hinge ink.


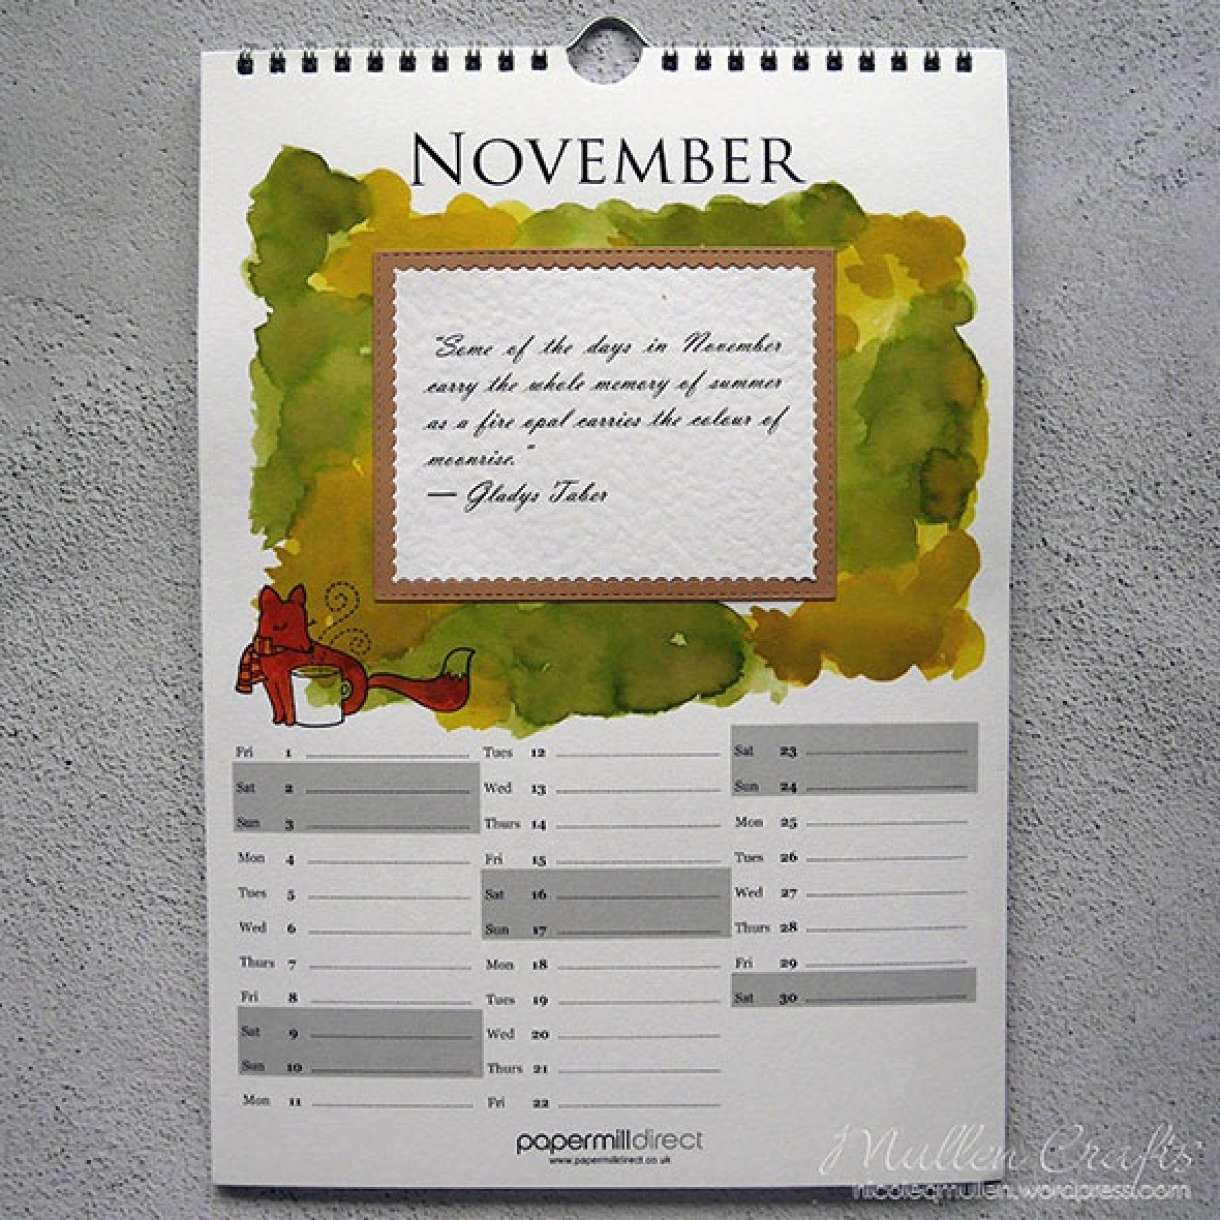
In November I went much more muted after the vibrance of October. I used the Papermilldirect Buff Smooth card and combined this with Peeled Paint and Crushed Olive for the background. I stamped the image and used Rusty Hinge to 'colour' it. I don't mind the background colours coming through the images on any of these pages, any of the colour I am painting onto them is to just help them pop on the page a little more. The texture of the colour underneath coming through simply adds to it in my eyes.


To finish off the calendar I used Ruby Red card. This is one of my favourite red cards at Christmas time. I created a background of Fired Brick and Evergreen Bough. I didn't try to blend these so much as more make a wreath like effect around the frame in the centre. For the image I stamped the Reindeer and coloured him with Rusty Hinge ink. After I took the photo below I added some red Stickles to his nose for that Rudolph effect.


That is my calendar done. I had so much fun making it, now the hard part is do I keep it for myself or give it as a gift? Make sure you get your hands on yours before they are all gone and share your pages with us on our Social Media!
Order you 2019 calendar here: https://www.papermilldirect.co...


1 thought on “2019 Creative Calendars Part 3”
Susan Mason
04th September 2018 at 5:21 p.m.
What a great idea! Makes a change from photos.
Can I ask what printer you use, I really struggle to print on my card stock.
Thank you
Kind regards
Susan